
Thinking about installing a Camplux water heater yourself? You’re probably wondering if it’s really doable without calling in a pro. The honest answer here is yes, many homeowners manage the setup on their own with a bit of patience and the right instructions.
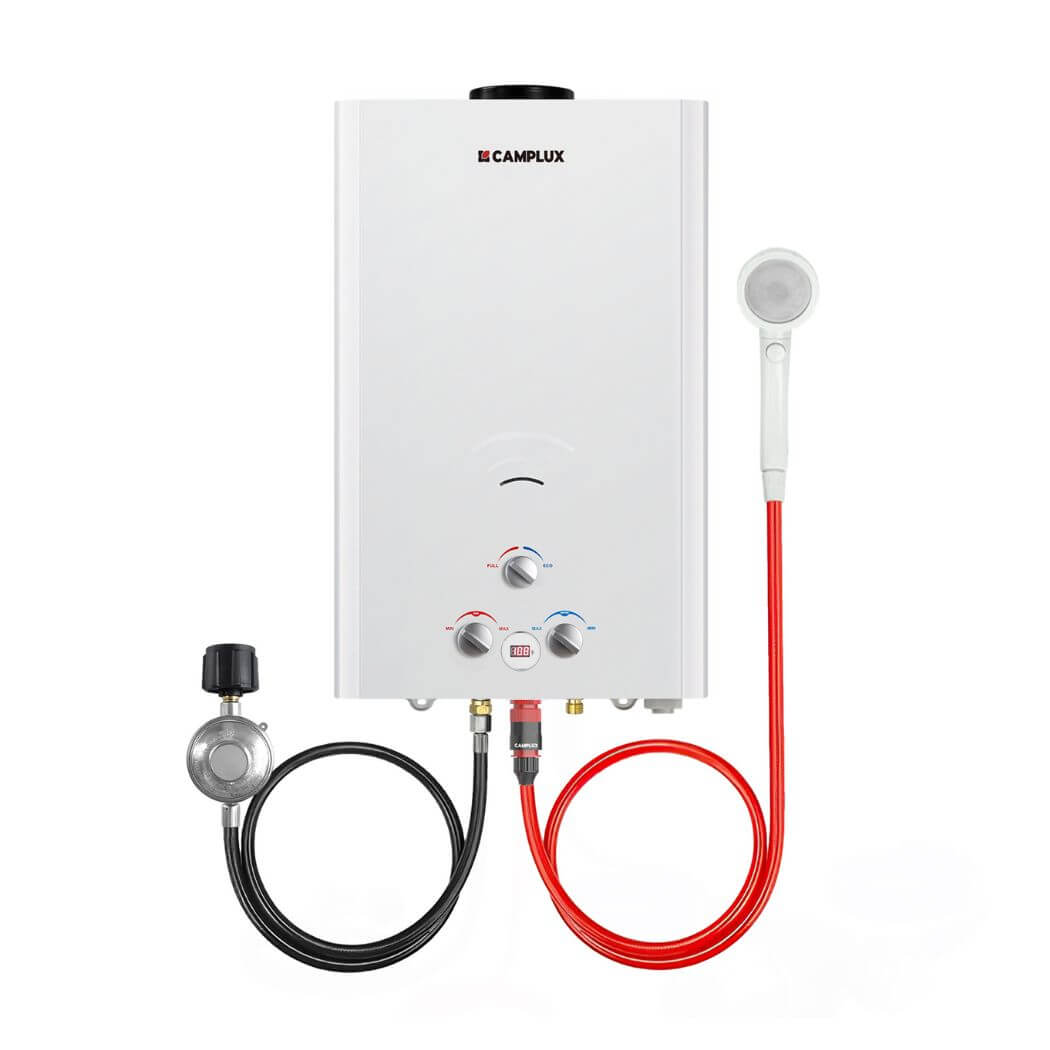
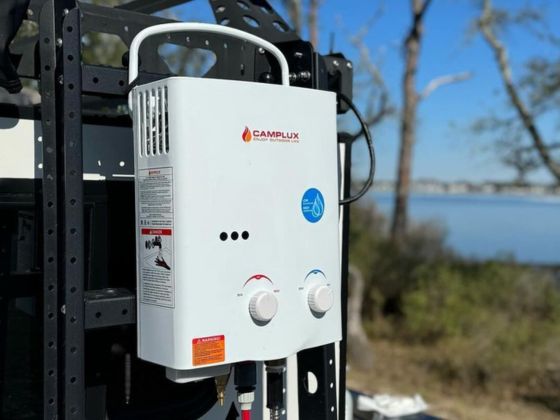
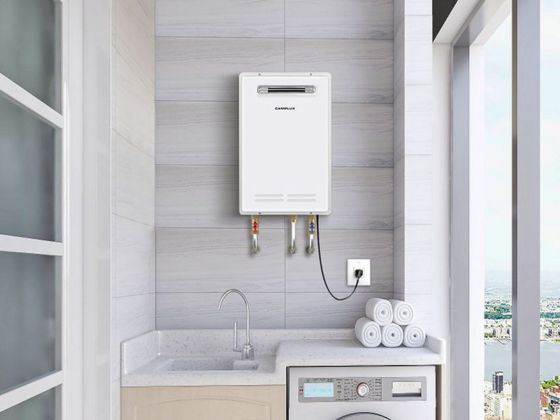
What’s involved exactly? From what I’ve seen, the process usually takes under two hours for basic models like the Camplux 16L propane tankless heater. And yes, this guide will walk you through every step clearly so you avoid common pitfalls.
If you’re curious about how to pick the right model before installation or want to compare with electric options like the Camplux whole house electric tankless water heater, we cover that too. By the end, you’ll know exactly what to expect and whether this DIY project is worth your time and money.
Key Benefits
Installing a Camplux water heater yourself saves both money and time compared to hiring professionals. In practice, buyers report saving up to $200 on installation fees alone by doing it themselves. Plus, you gain full control over setup details, which means fewer surprises down the line.
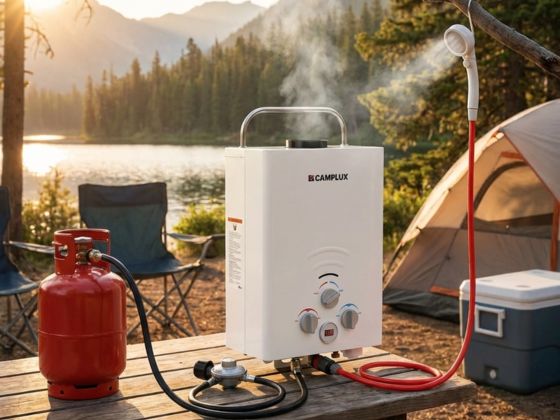
The real-world advantage is immediate hot water on demand without waiting for bulky tanks to heat up. Camplux models are known for compact designs and energy efficiency—some units reduce energy consumption by up to 30% compared to traditional heaters. This translates into noticeable savings on your utility bills over time.
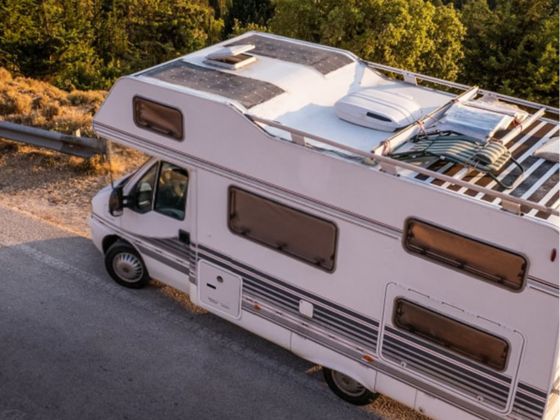
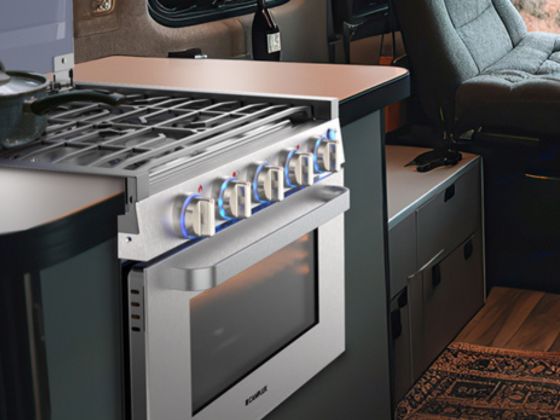
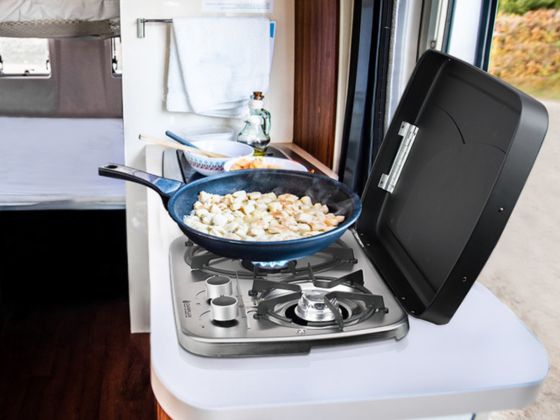
Another benefit is flexibility: these heaters can fit in tight spaces like small apartments or RVs, making them ideal for Canadian homes where space often comes at a premium. With straightforward installation steps, you’re not locked into costly service visits or complicated setups.
Who Is This For?
This DIY installation guide suits homeowners comfortable with basic plumbing and electrical work but wary of complex setups. If you’ve handled minor home repairs or installed appliances before, you’ll likely find this process manageable. However, if you’re unsure about gas connections or electrical wiring, it might be wise to consult an expert.
A common decision concern is compatibility with existing setups—Camplux offers various models tailored for propane or electric connections, so matching your current infrastructure matters. For example, if your home already uses propane for heating or cooking, a propane water heater could integrate smoothly without extra upgrades.
Buyers also evaluate durability and warranty terms when choosing their unit. Camplux provides solid warranties ranging from one to three years depending on the model, backed by responsive customer support teams based in North America—a reassuring factor when investing in home essentials.
How to Choose the Right Option
The short version: start by assessing your household’s hot water needs and fuel availability. A typical family of four requires around 40 gallons of hot water daily; Camplux’s tankless models deliver anywhere from 1.5 to over 4 gallons per minute (GPM), so pick one that meets peak usage times without overspending.
One risk to check is buying a model that’s too powerful or underpowered—which wastes money or leaves you cold during showers. For instance, if your home has low water pressure or limited ventilation space outdoors, some outdoor models might not be suitable without adjustments.
Also consider value for money: electric heaters often cost less upfront but may run higher monthly bills depending on local electricity rates; propane options have slightly higher initial costs but tend to be more efficient overall in colder climates like much of Canada.
Step-by-Step Installation Guide
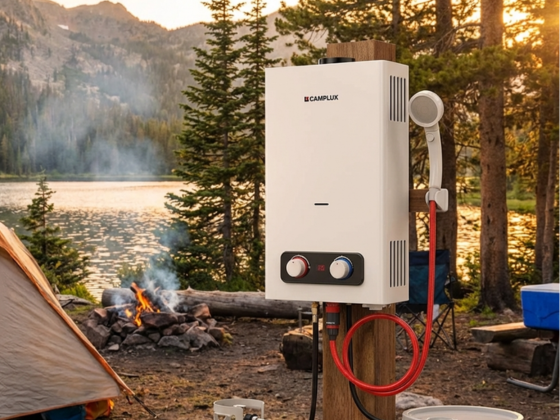
Starting with location selection: choose a spot near your main water line that allows easy access for maintenance but stays clear of freezing temperatures—this prevents damage during Canadian winters. Most users pick utility rooms or garages for indoor units; outdoor models require sheltered mounting spots away from direct rain exposure.
Next comes plumbing connections. Shut off your main water supply before cutting into pipes; use Teflon tape on threaded fittings to avoid leaks. The honest answer here is that most buyers find flexible copper tubing easier than rigid piping since it requires less precision cutting.
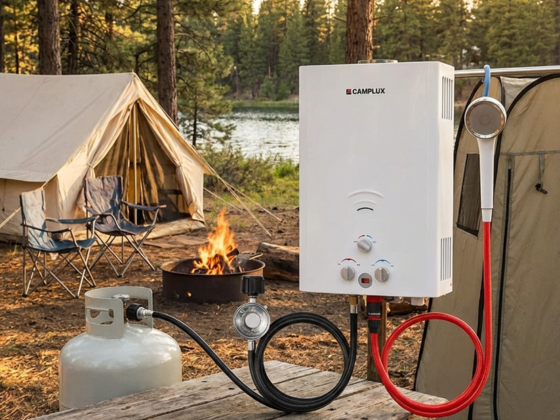
For gas-powered units, connecting propane lines safely is critical—always check local codes (see [Canadian Gas Association guidelines](https://www.cga.ca/)) and perform leak tests using soapy water after fitting connections. Electrical hookup involves connecting power cables following manufacturer wiring diagrams; double-check voltage requirements match your home supply.
Common Installation Challenges
The biggest snag people face is improper venting when dealing with gas heaters outdoors—if exhaust gases aren’t routed correctly, it risks safety hazards and poor performance. What we see regularly is users underestimating clearance distances required around vents which can void warranties or cause failures.
Another frequent issue is mismatched fittings causing leaks at joints—this happens when adapters aren’t compatible with local pipe standards. So take time measuring pipe diameters beforehand; it saves hours troubleshooting later.
If your home's electrical panel doesn’t support adding new circuits easily, powering an electric Camplux unit might require upgrades—not always obvious until installation starts. This surprised me when I first encountered it working with customers in older homes built pre-1980s.
Maintenance Tips for Longevity
Regular maintenance extends your heater’s life dramatically—flushing mineral buildup annually keeps heating elements efficient and prevents clogs common in hard-water areas across Canada. Use vinegar solutions or manufacturer-recommended descaling agents for best results.
Check all connections periodically for signs of wear or corrosion; tightening loose fittings early avoids bigger leaks later on. Customer support teams often recommend keeping installation manuals handy because warranty claims sometimes hinge on proof of routine upkeep done correctly within specified intervals.
A quick inspection after winter months helps catch freeze damage early since even insulated pipes can crack if temperatures drop unexpectedly overnight during power outages—a scenario many Canadian homes face yearly.
If you want detailed specs before starting your install journey, check out this Camplux 16L propane tankless heater product page. It includes user reviews and tested performance ratings that can help confirm if this model fits your needs perfectly.
View product details
Frequently Asked Questions
Can I install a Camplux water heater myself?
Yes, many homeowners successfully install these units themselves with proper guidance. The process typically involves basic plumbing and electrical tasks that most DIYers can handle within two hours using standard tools and following safety precautions closely.
What tools do I need for installation?
You’ll generally need adjustable wrenches, pipe cutters, Teflon tape, screwdrivers, and possibly a voltage tester depending on the model type (gas vs electric). Having these ready upfront speeds up setup significantly while reducing mistakes from improvising mid-job.
Is a professional inspection required after installation?
This depends on local regulations but usually recommended especially for gas-powered units due to safety concerns related to ventilation and leak prevention. Checking municipal codes online ensures compliance before using your new heater regularly.
How long does installation usually take?
The honest answer here is most DIY installations take between one and three hours depending on experience level and existing plumbing conditions at home. Unexpected challenges like outdated piping can extend this time frame moderately though.
What maintenance does my Camplux water heater need?
You should flush mineral deposits annually and inspect fittings regularly for leaks or corrosion signs—this keeps performance steady over years while protecting warranty coverage which ranges from one up to three years based on model type purchased.
Can I return my Camplux water heater if I change my mind?
Returns depend on seller policies but many allow returns within 30 days if unopened and unused—in practice checking exact terms before purchase avoids surprises later especially given shipping costs involved with heavy items like these heaters.
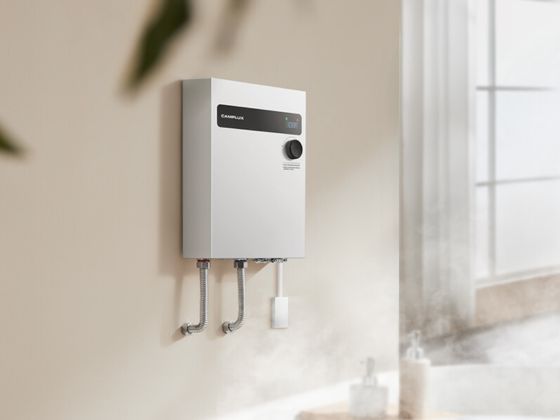
If you’re ready to jump into installation but want more info about electric alternatives that fit smaller spaces efficiently, check out this detailed review of the Camplux whole house electric tankless water heater. It covers setup tips plus real user feedback.
View product details