


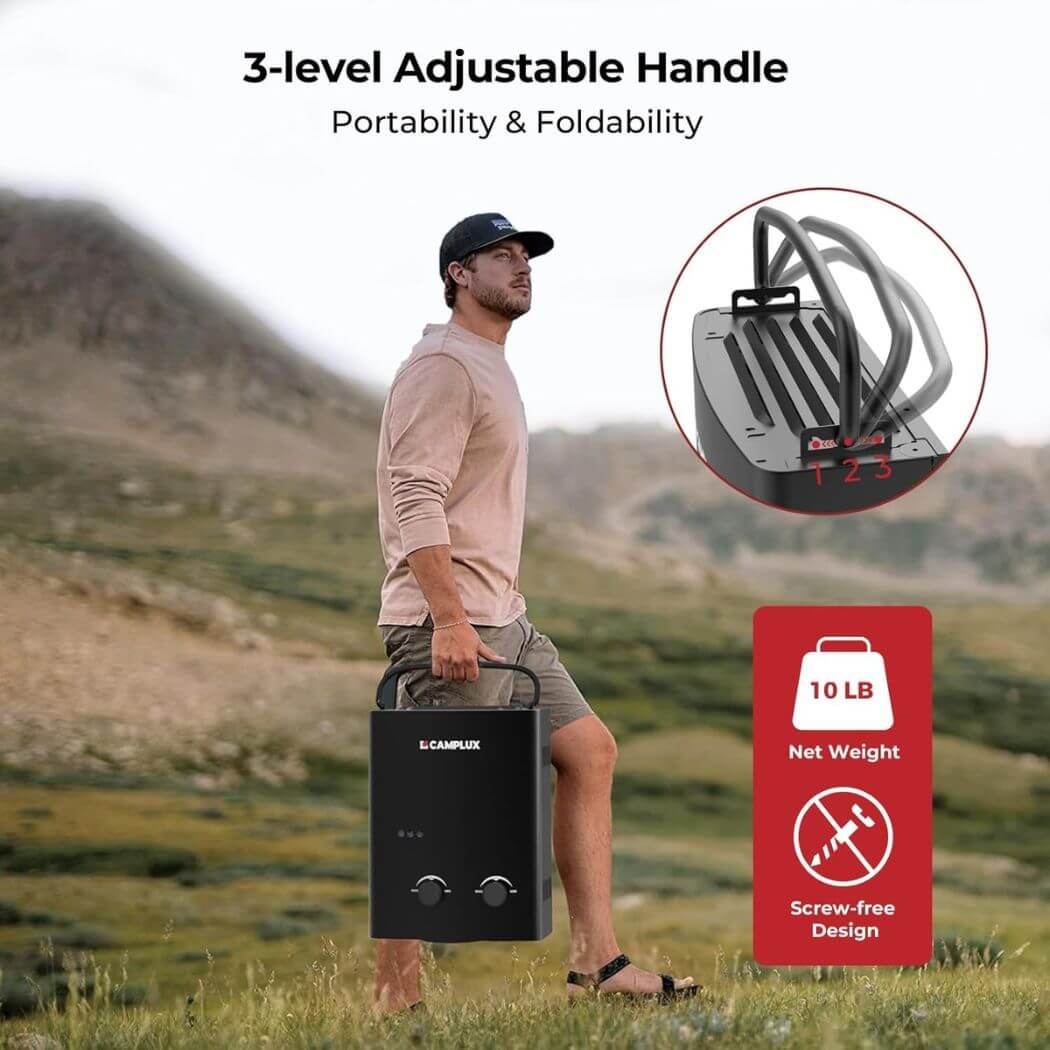
The World’s No.1 Portable
Water Heater Brand
Our propane water heaters are shipped locally across the U.S. for quick, reliable delivery.
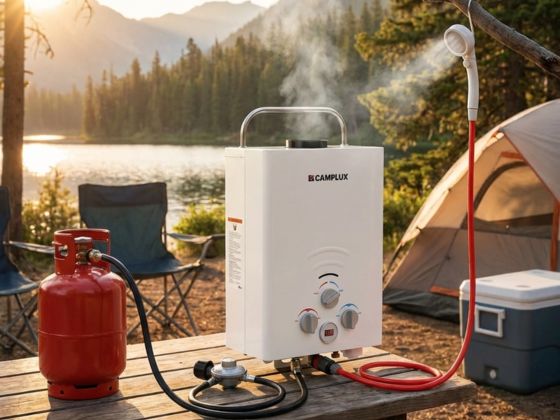
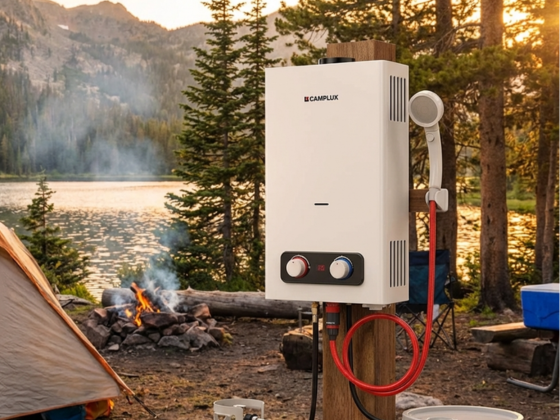
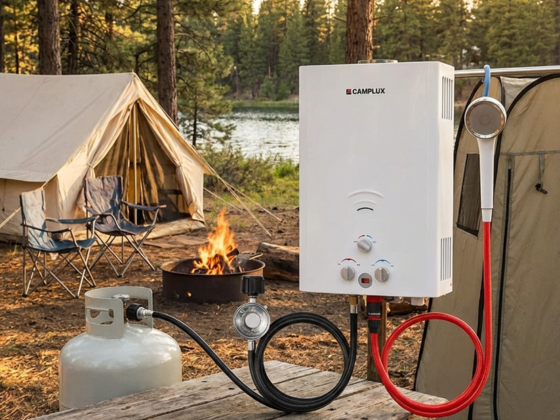
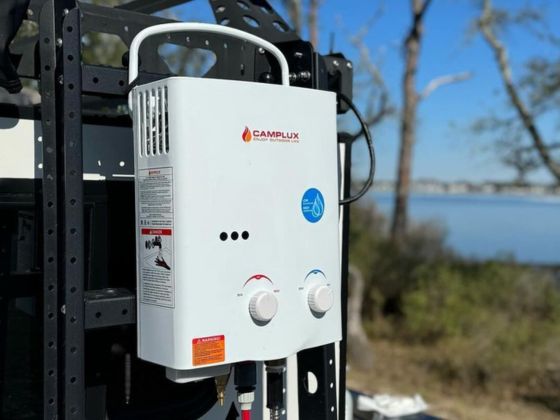
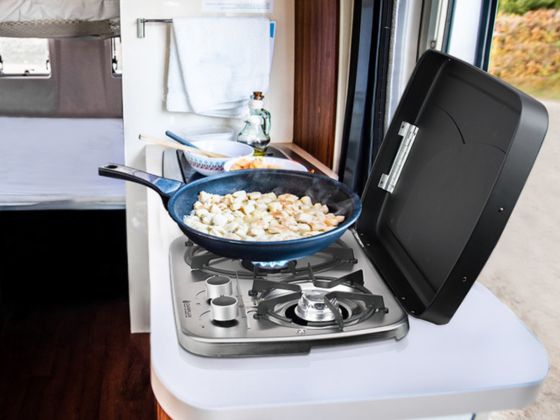
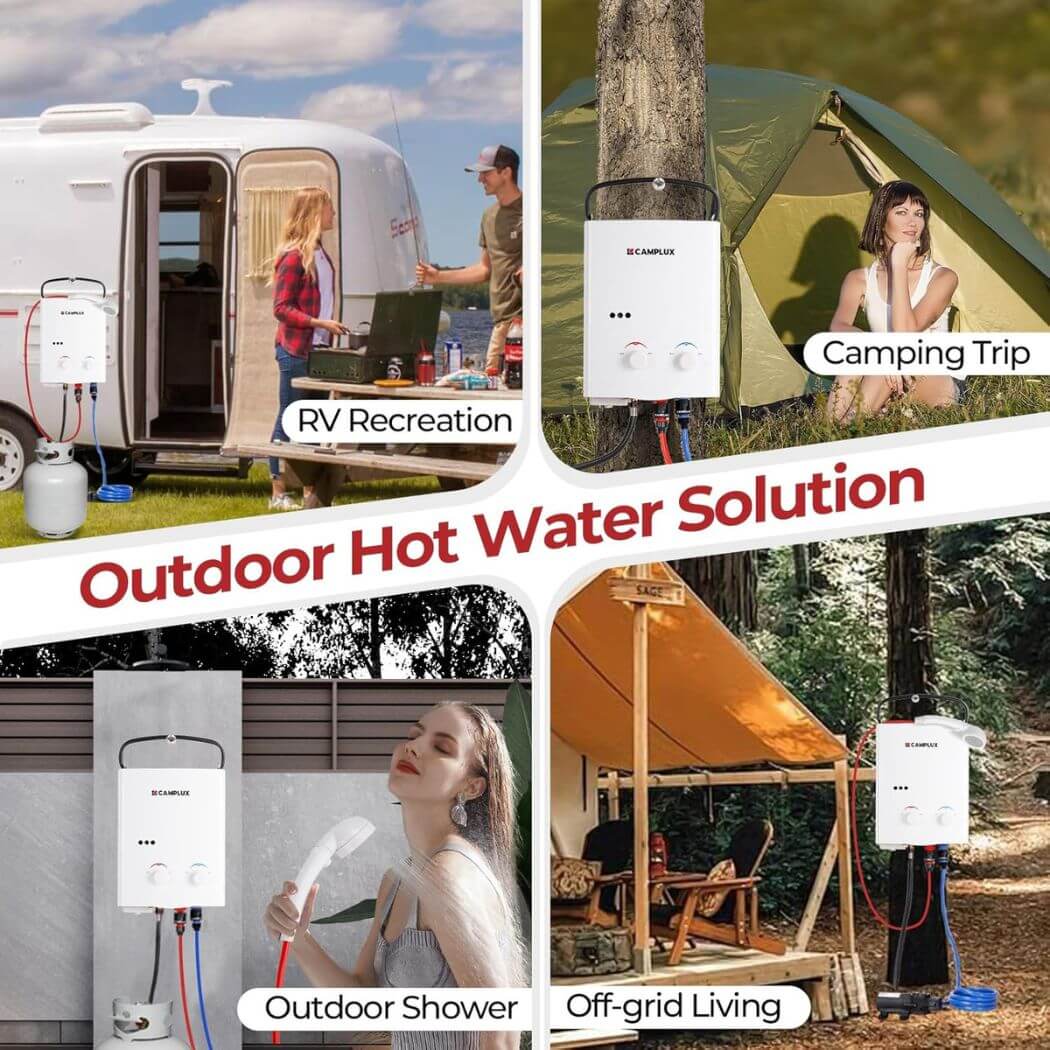
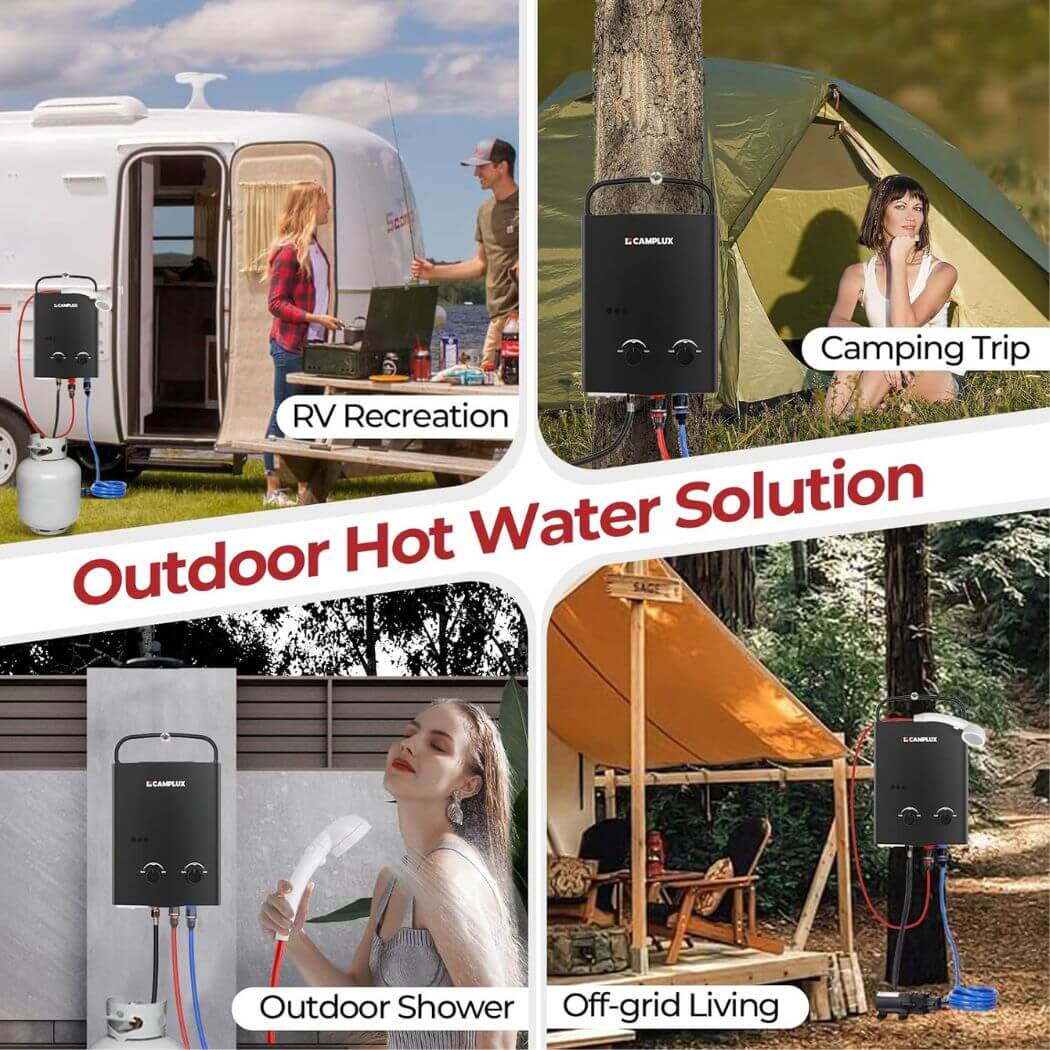
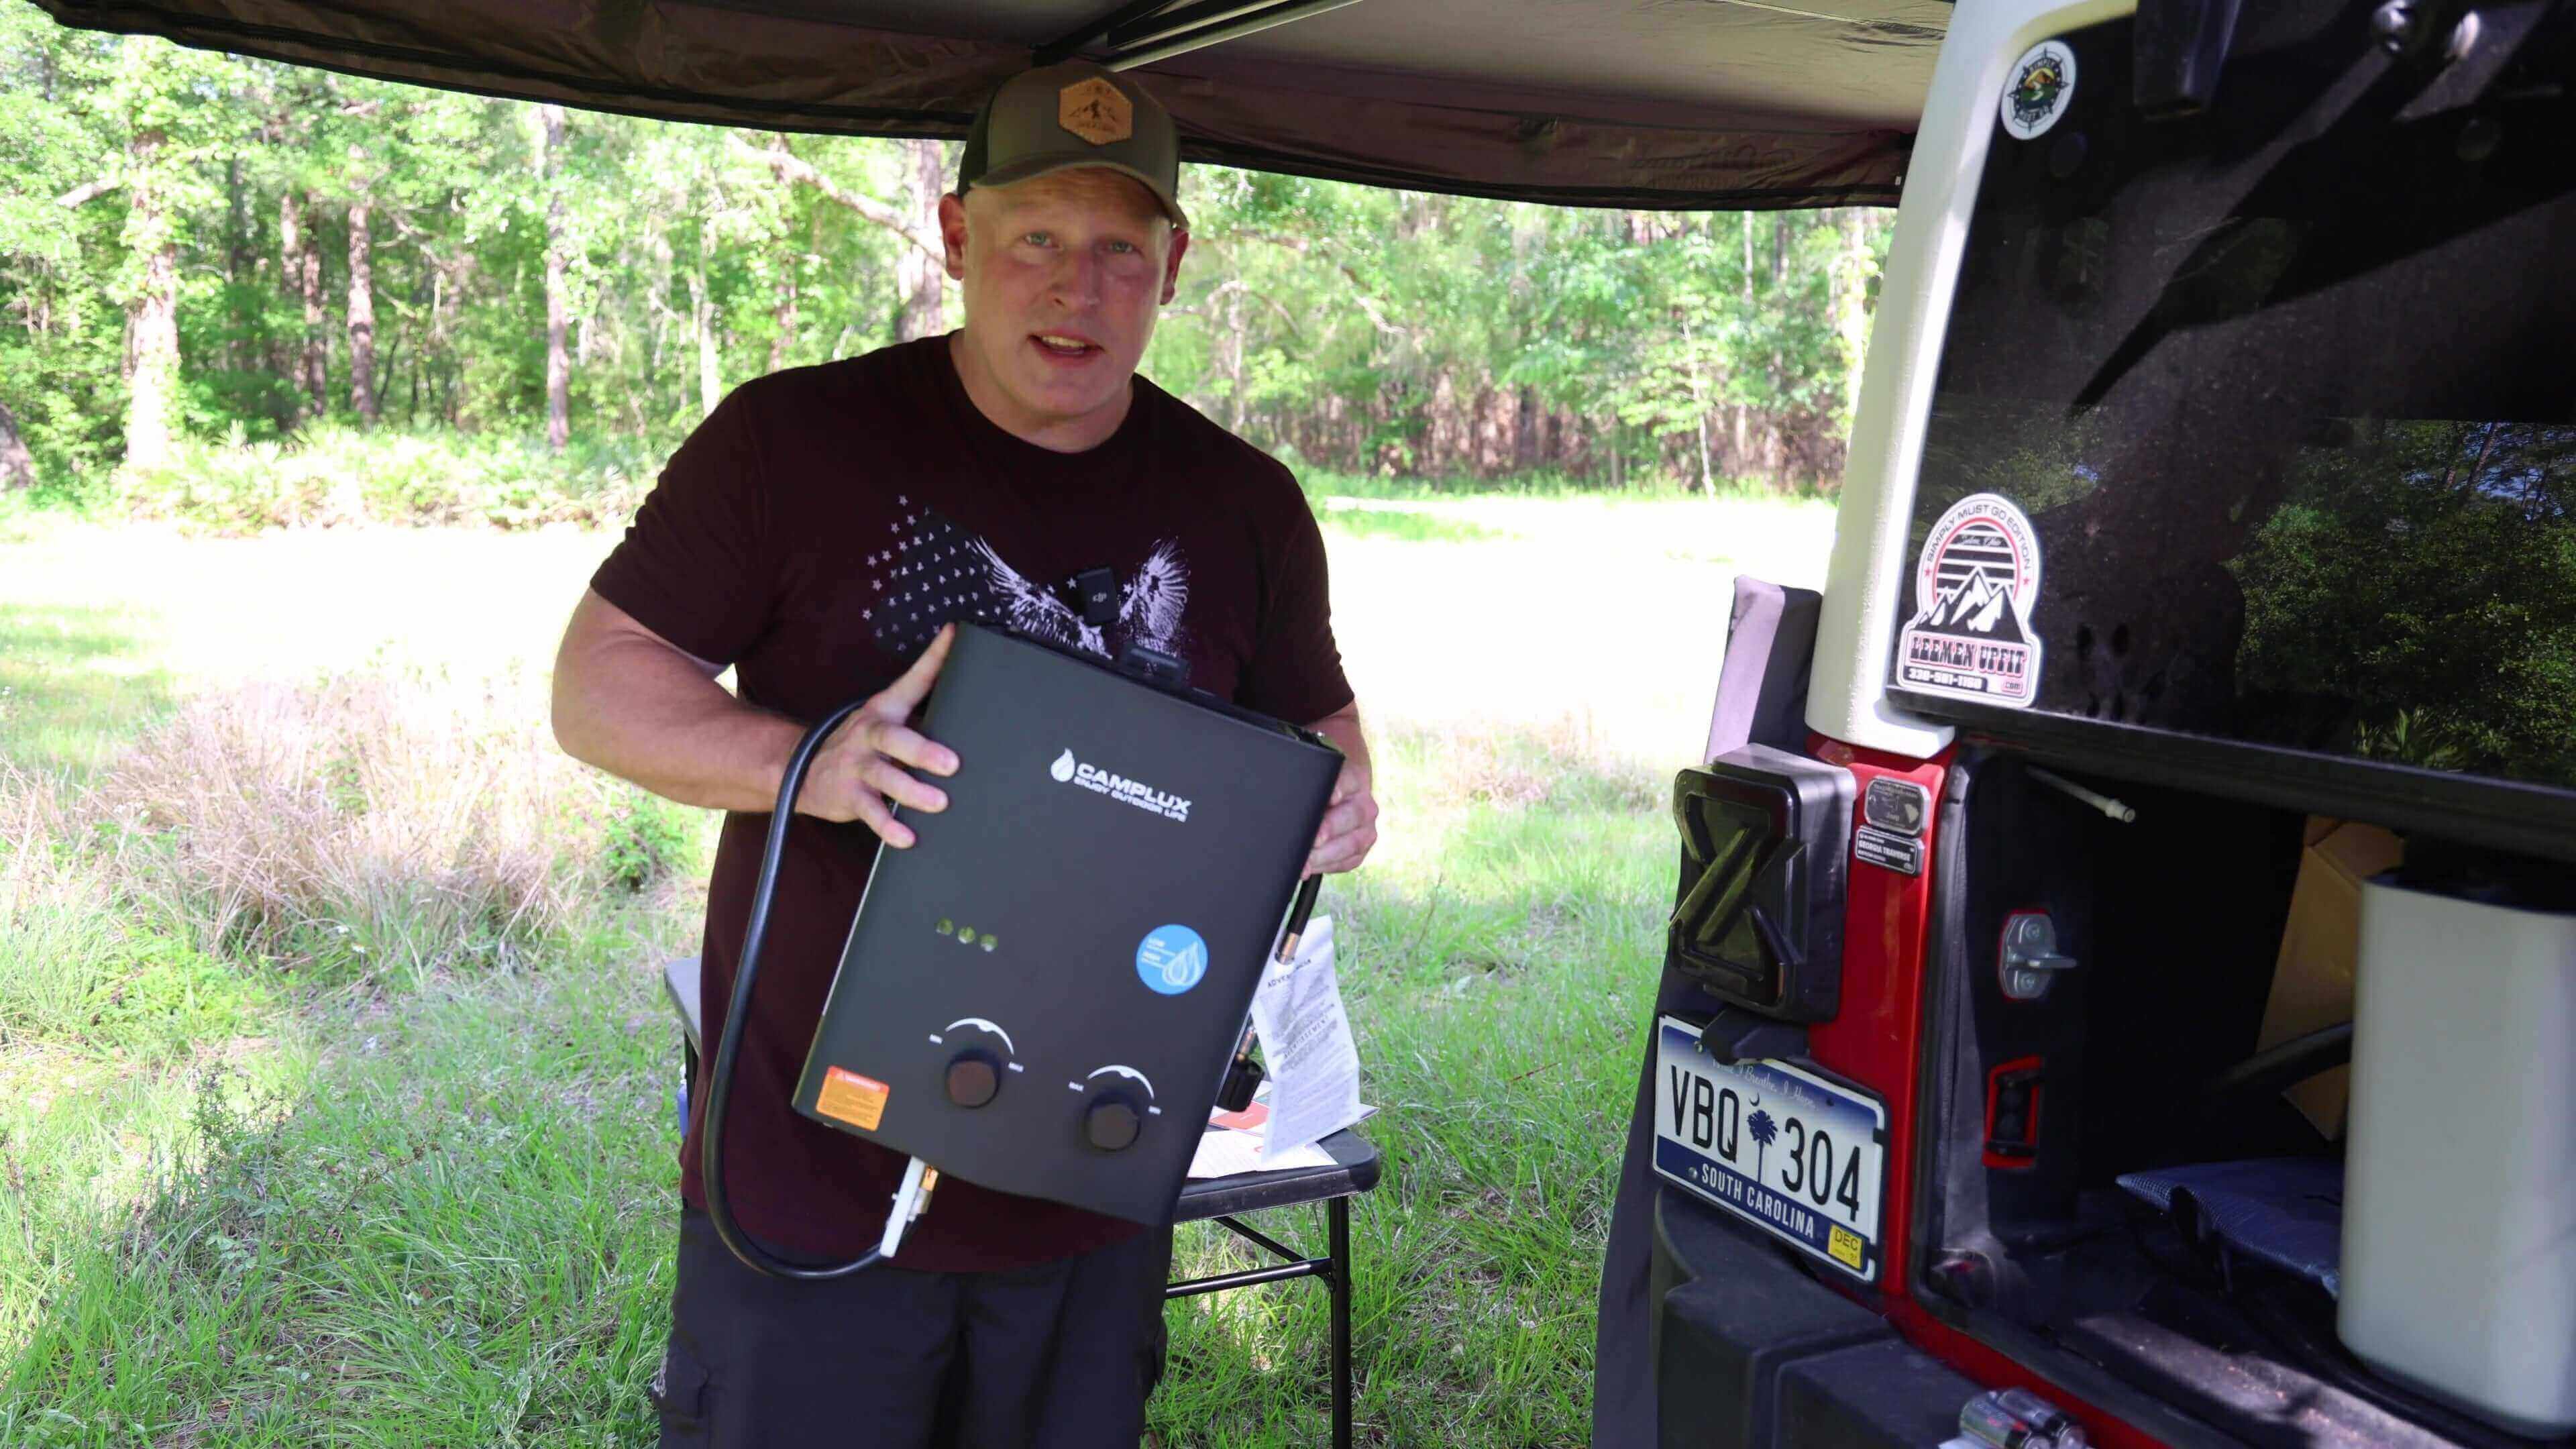
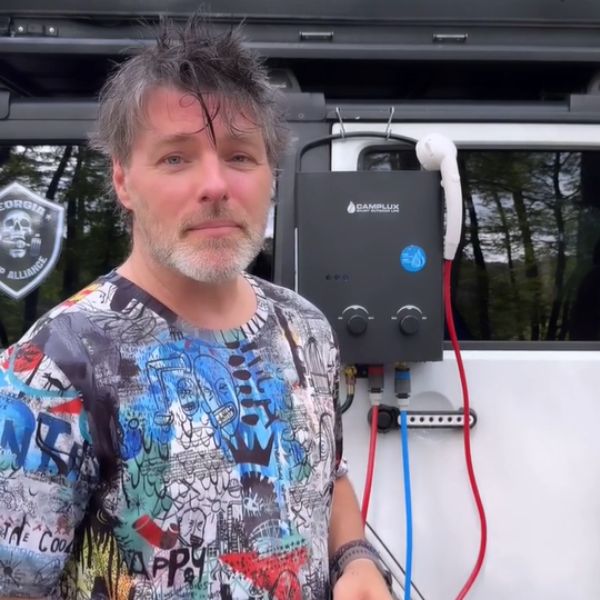
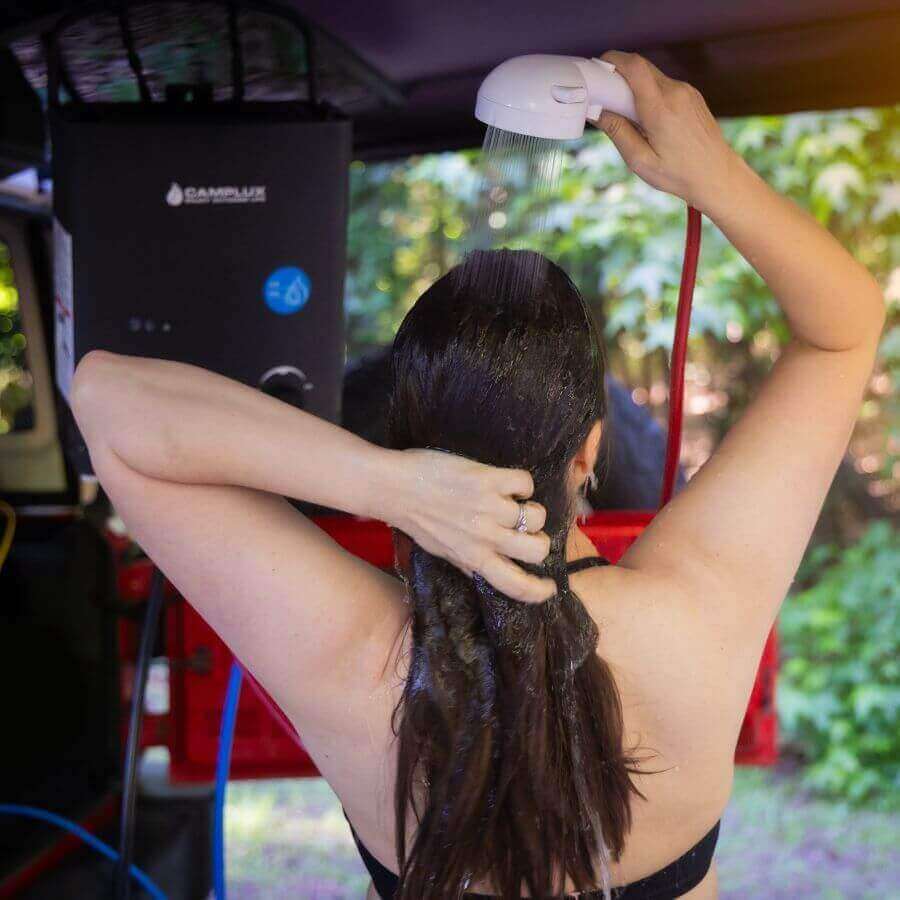
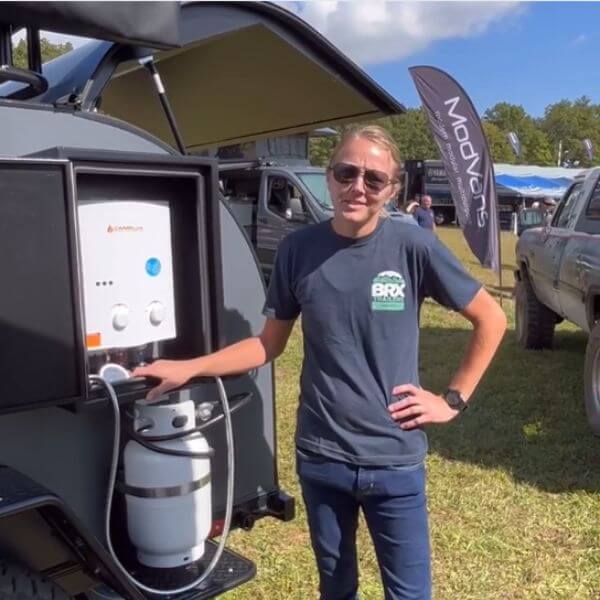
Whether for camping showers, RV adventures, or outdoor exploration, our portable and tankless system delivers hot water on demand.
Save on energy costs with our propane-powered, tankless water heater, engineered for efficiency and built with the environment in mind.
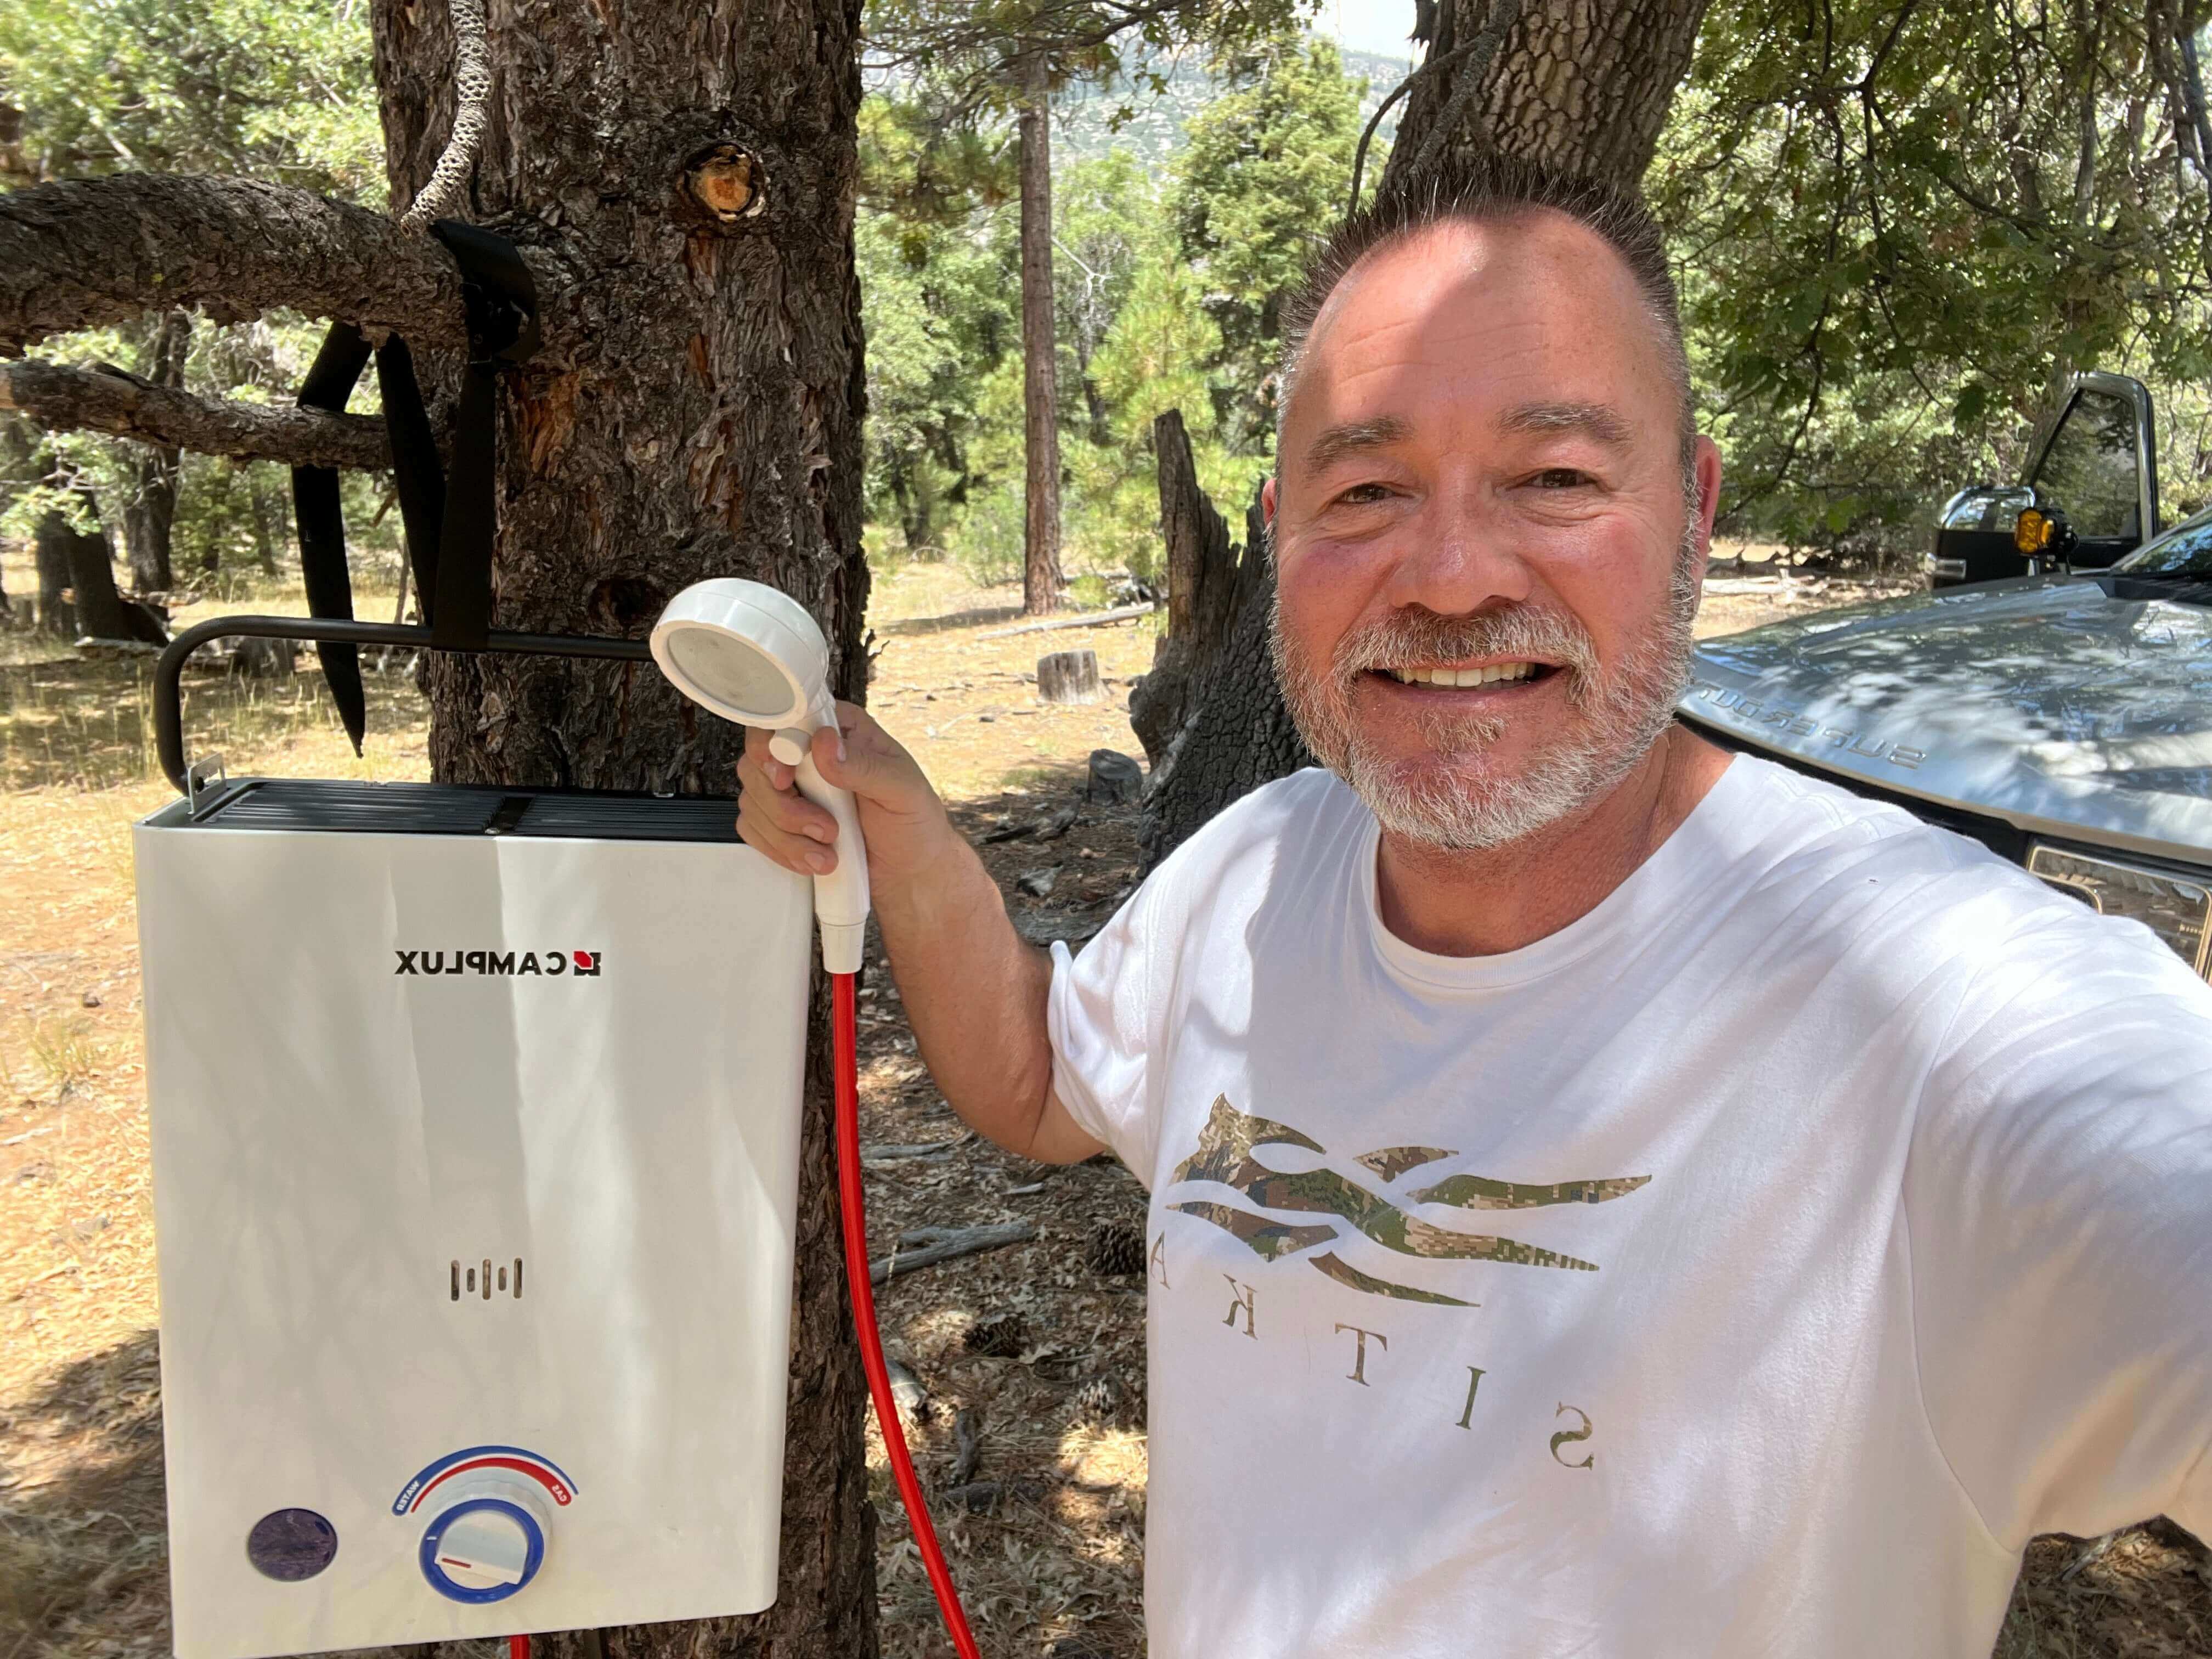
Designed to be portable and user-friendly, it requires no permanent installation – perfect for RV setups, camping, and more.
From camper van showers to outdoor adventures, our tankless propane heater adapts seamlessly to your needs.
Join a nationwide community of users who trust our portable, propane water heaters for camping, RV living, and off-grid comfort.
Try our tankless propane water heater risk-free and experience on-demand hot water for all your adventures.
Enjoy complimentary, fast delivery from our U.S. warehouses, ensuring your portable propane heater arrives right on time.
Our commitment to quality is backed by a 12-month warranty and dedicated U.S.-based customer support.
Rigorously tested and CSA-certified, our propane water heater meets strict U.S. safety standards for your peace of mind.
With local shipping across America, your portable, tankless propane heater is delivered swiftly, so you're ready for your next adventure.
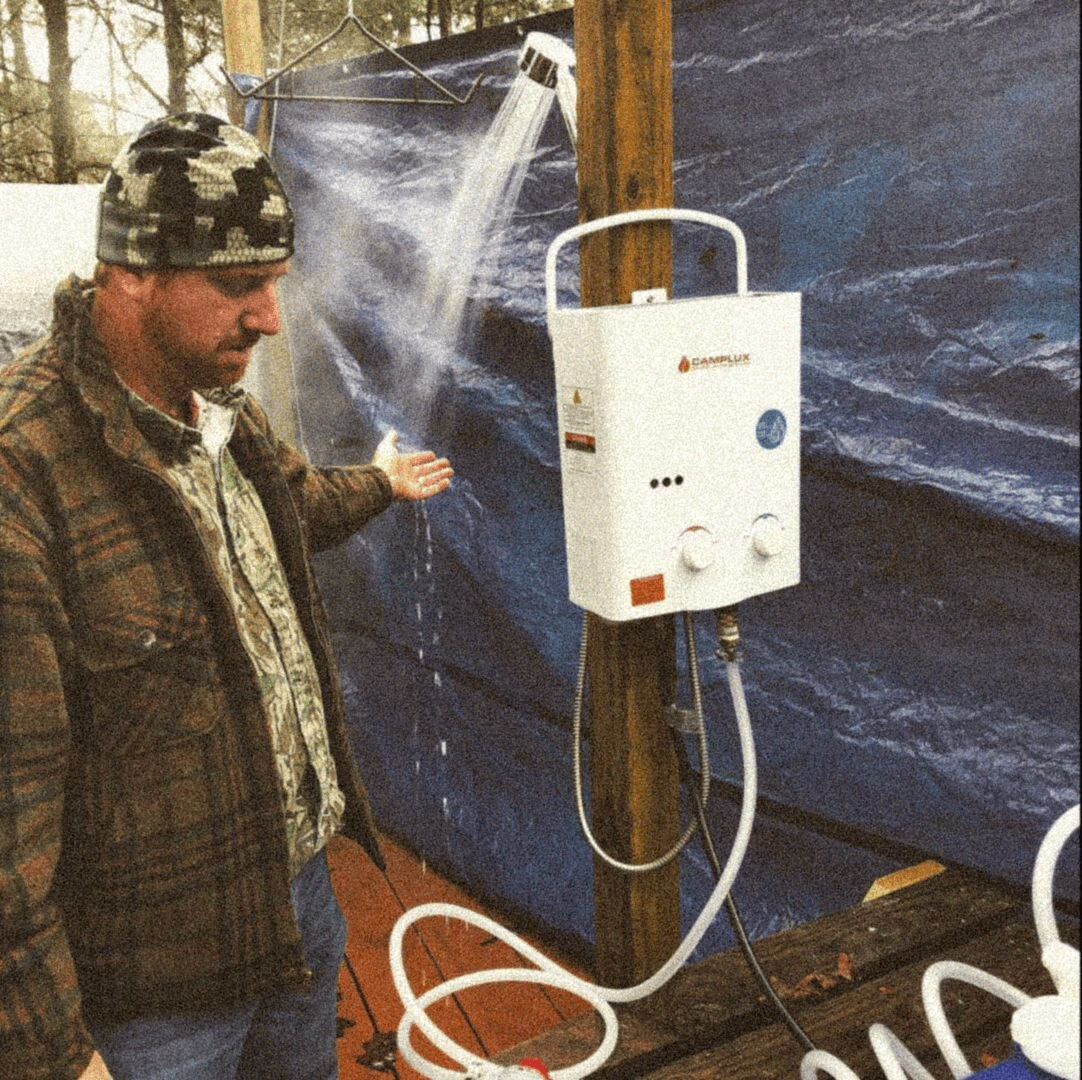
Perfect for camping showers, RV living, camper van setups, and outdoor exploration—experience instant hot water wherever you go.
Save on energy costs with our propane-powered, tankless water heater, engineered for efficiency and built with the environment in mind.
Designed to be portable and user-friendly, it requires no permanent installation – perfect for RV setups, camping, and more.
From camper van showers to outdoor adventures, our tankless propane heater adapts seamlessly to your needs.
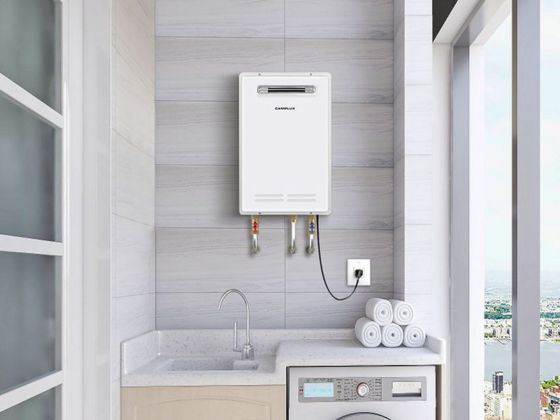
Top Propane Tankless Water Heaters
Explore Propane Water Heater
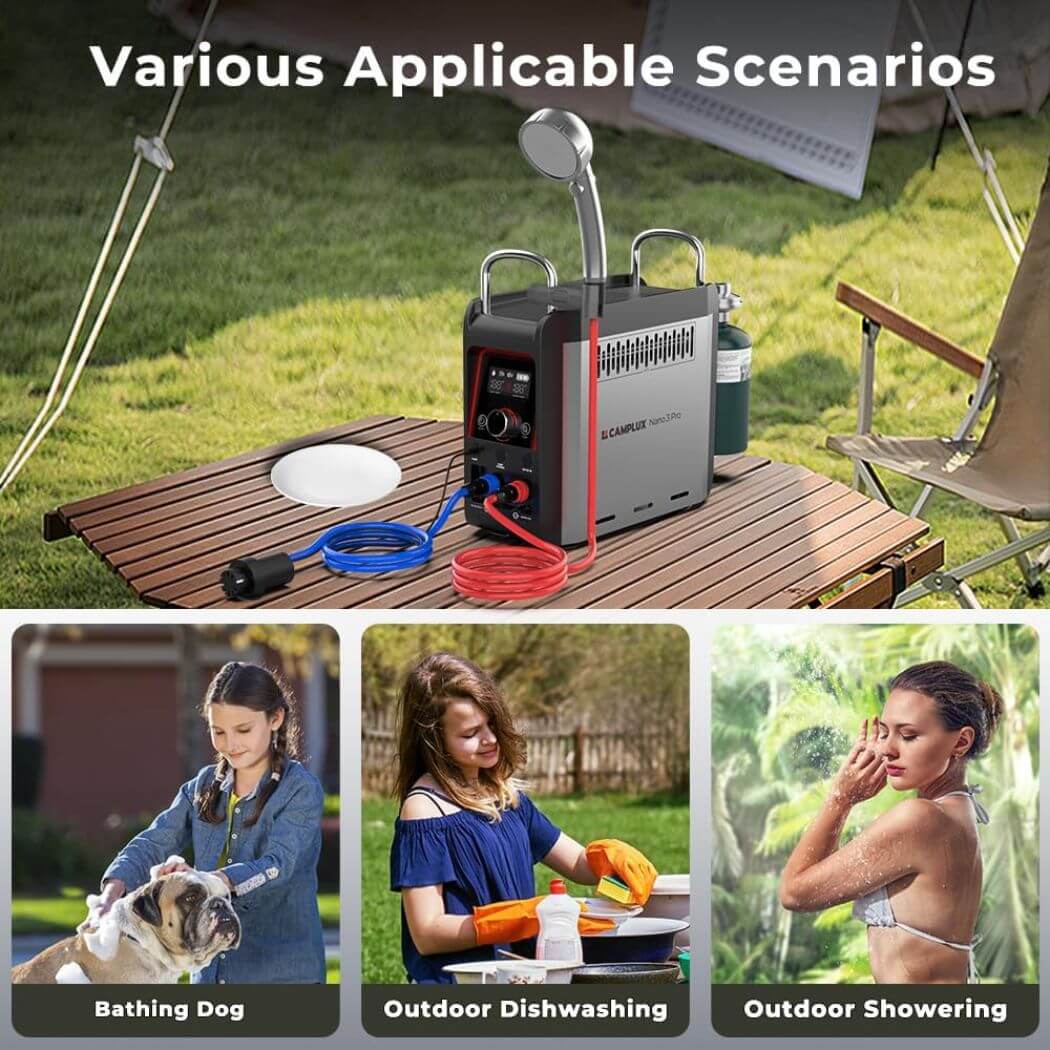
Discover top-quality heaters for camping, outdoor, garden, and RV use—engineered for efficiency and built for every lifestyle.

best water heater
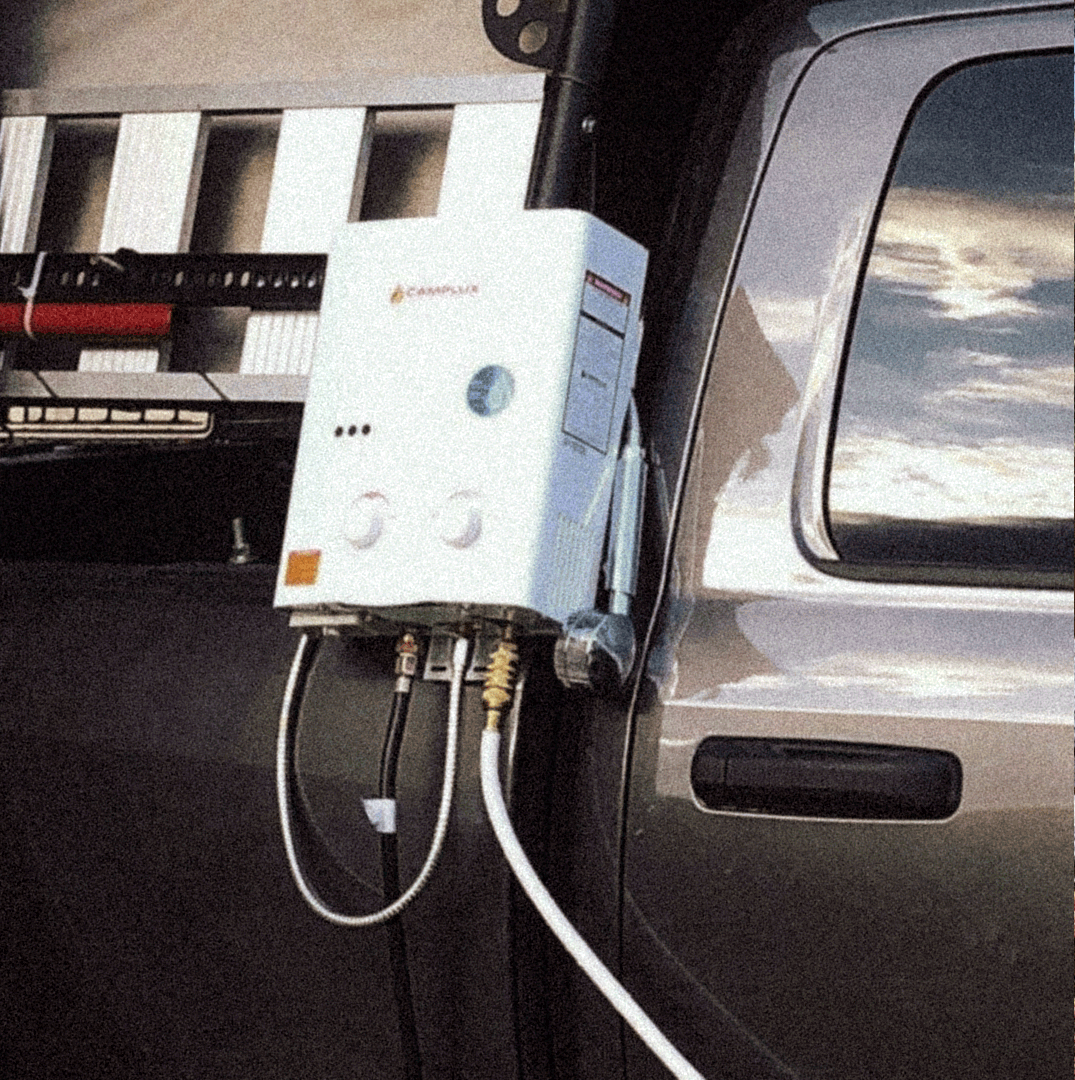
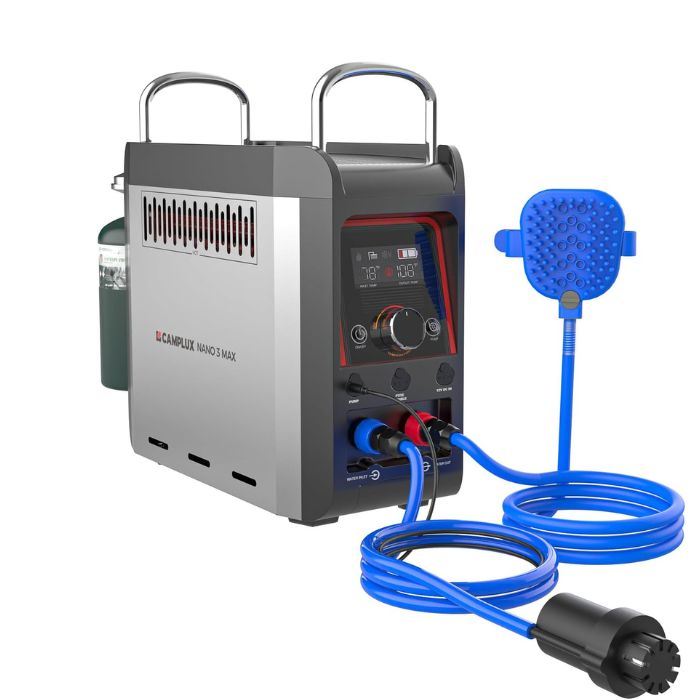
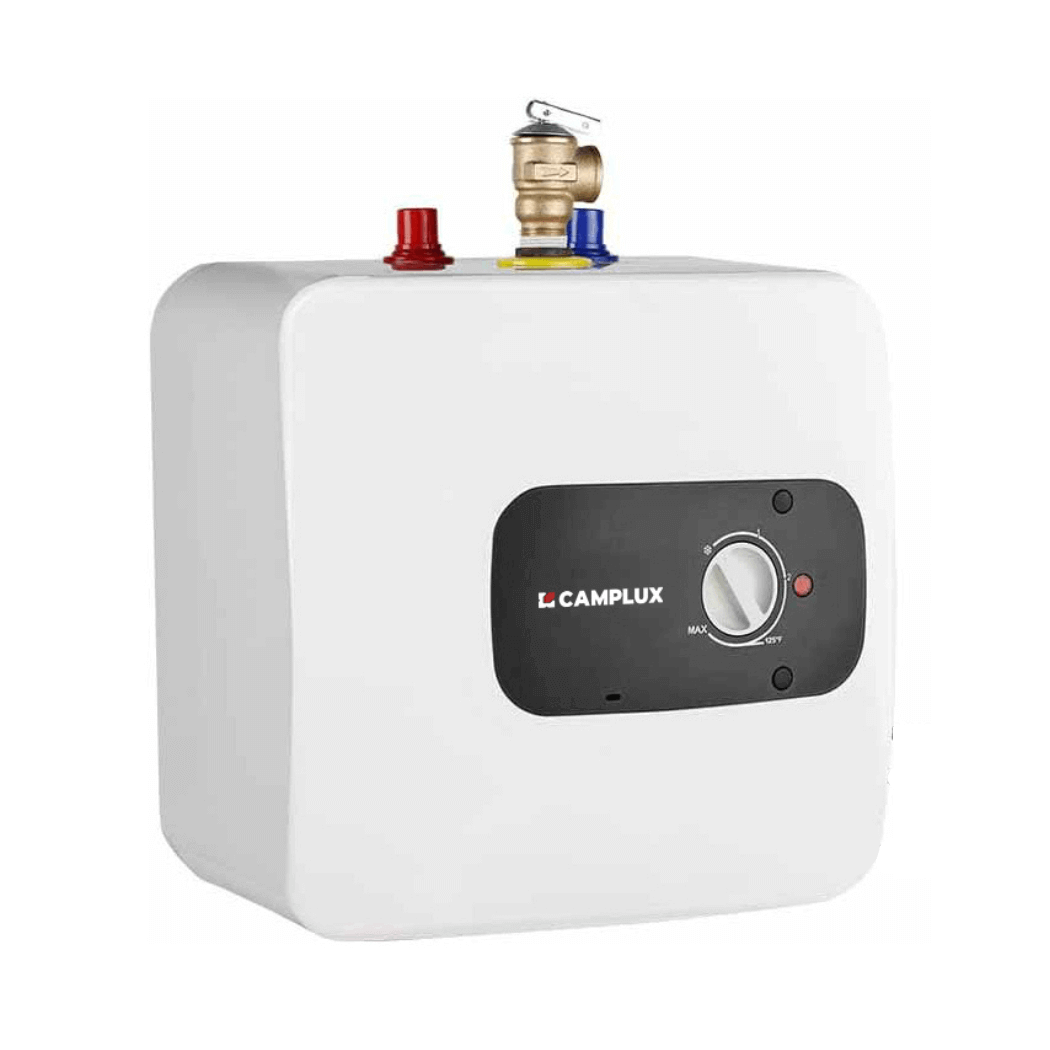
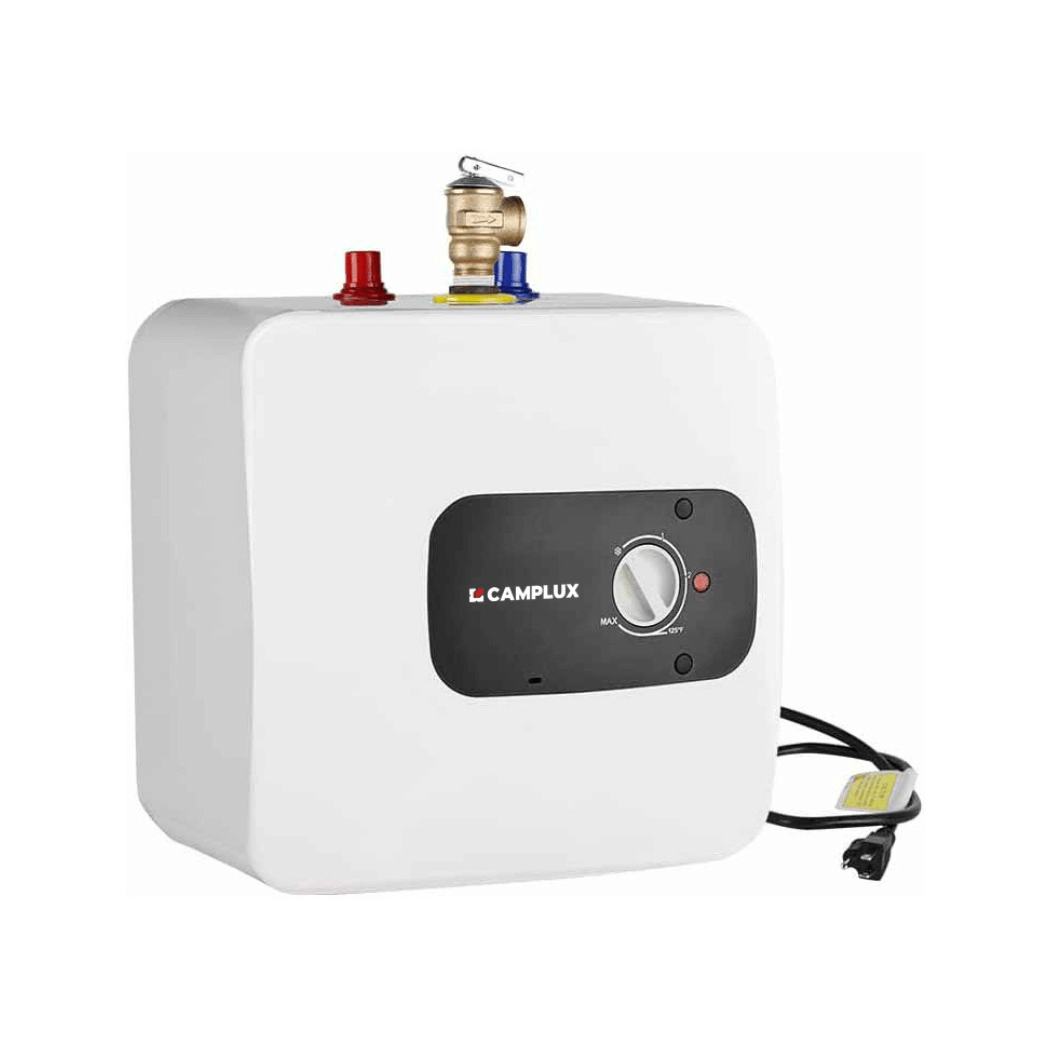
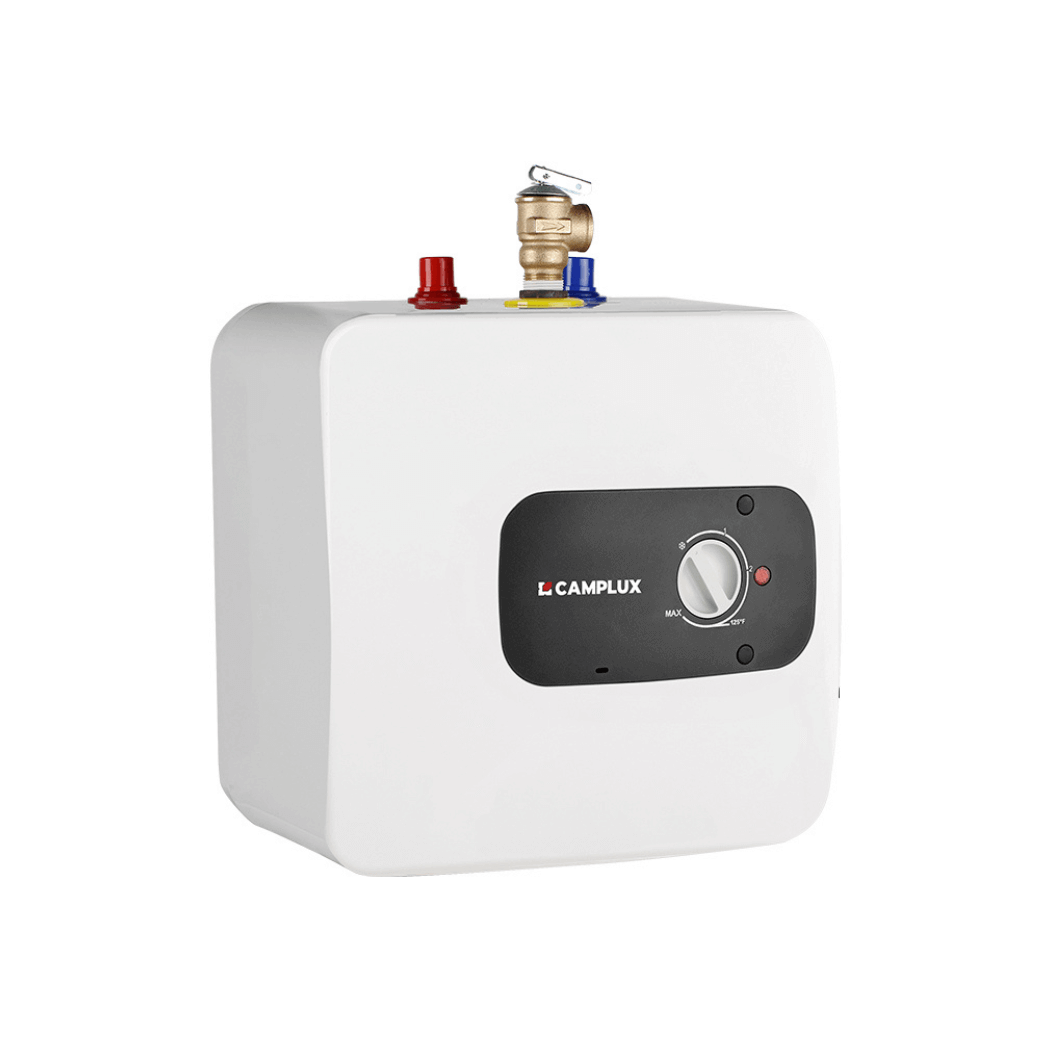
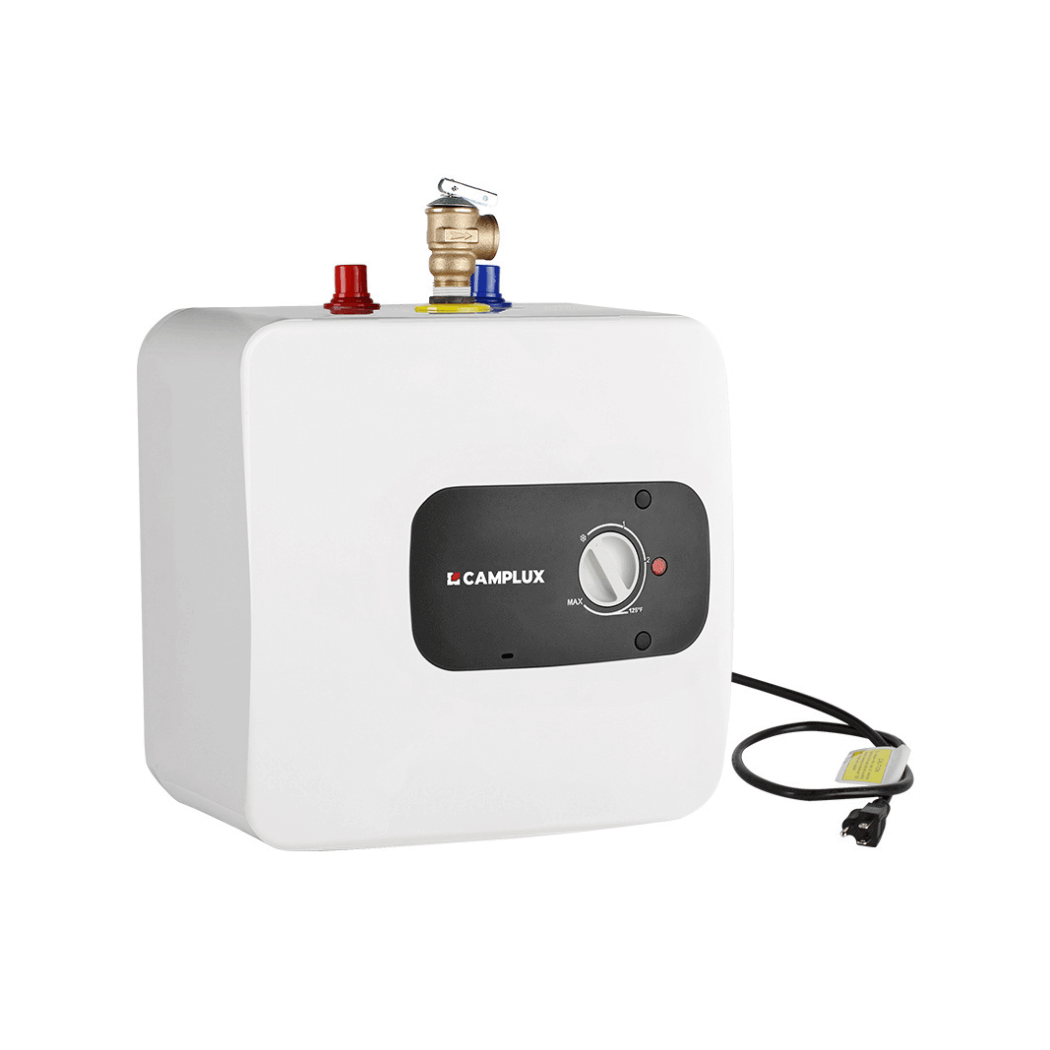
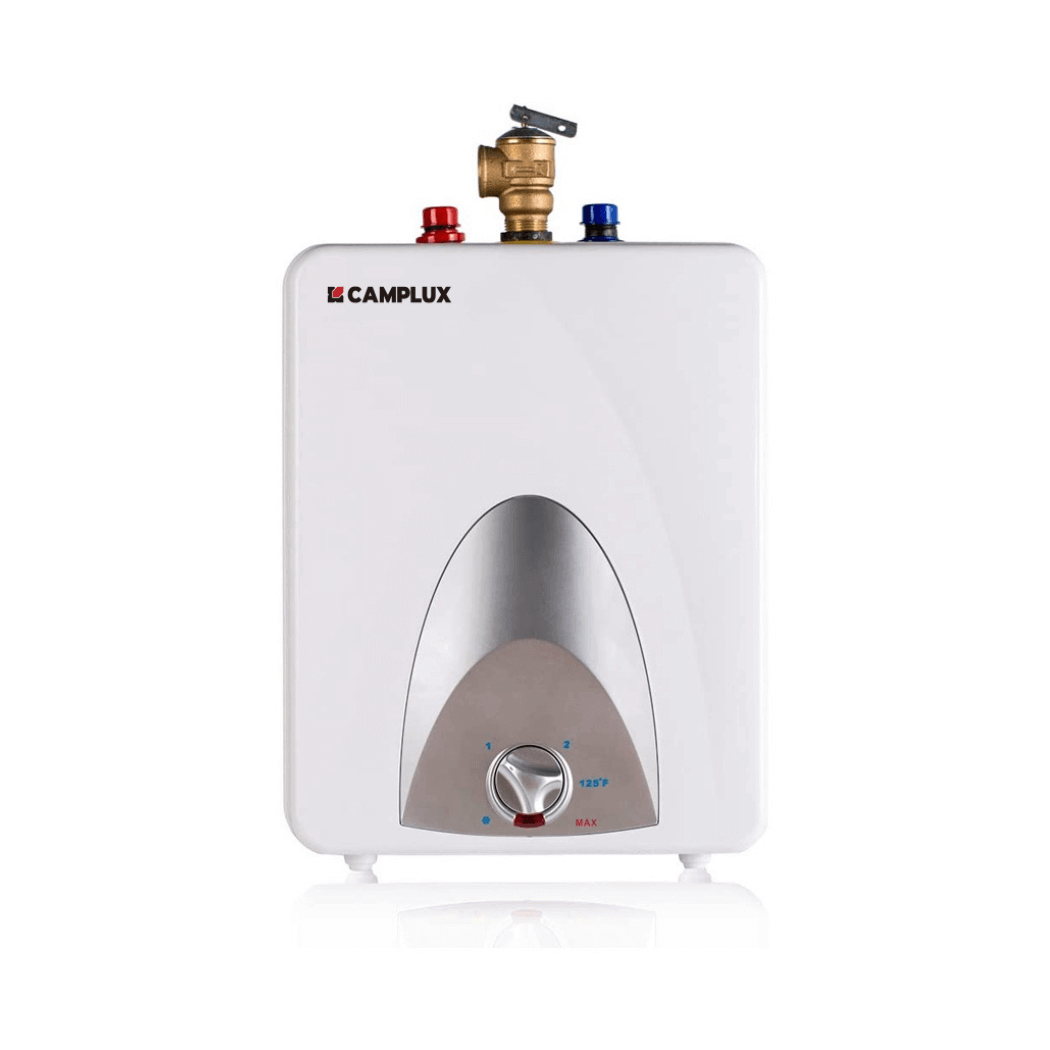
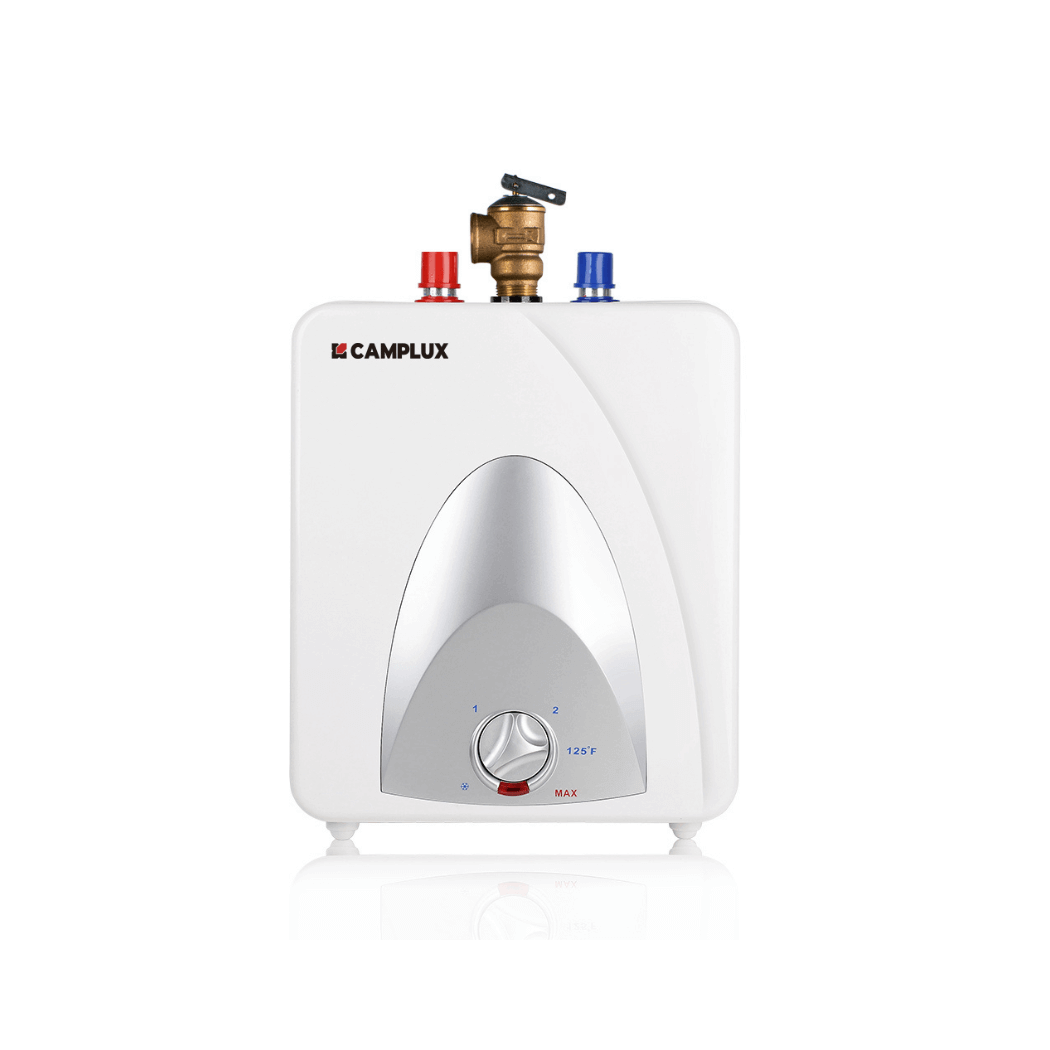
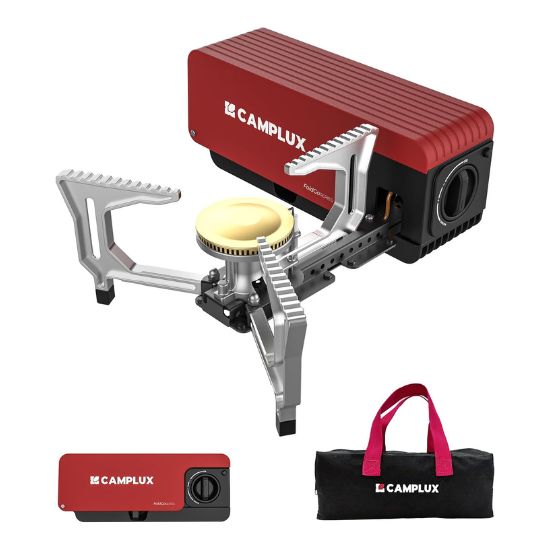
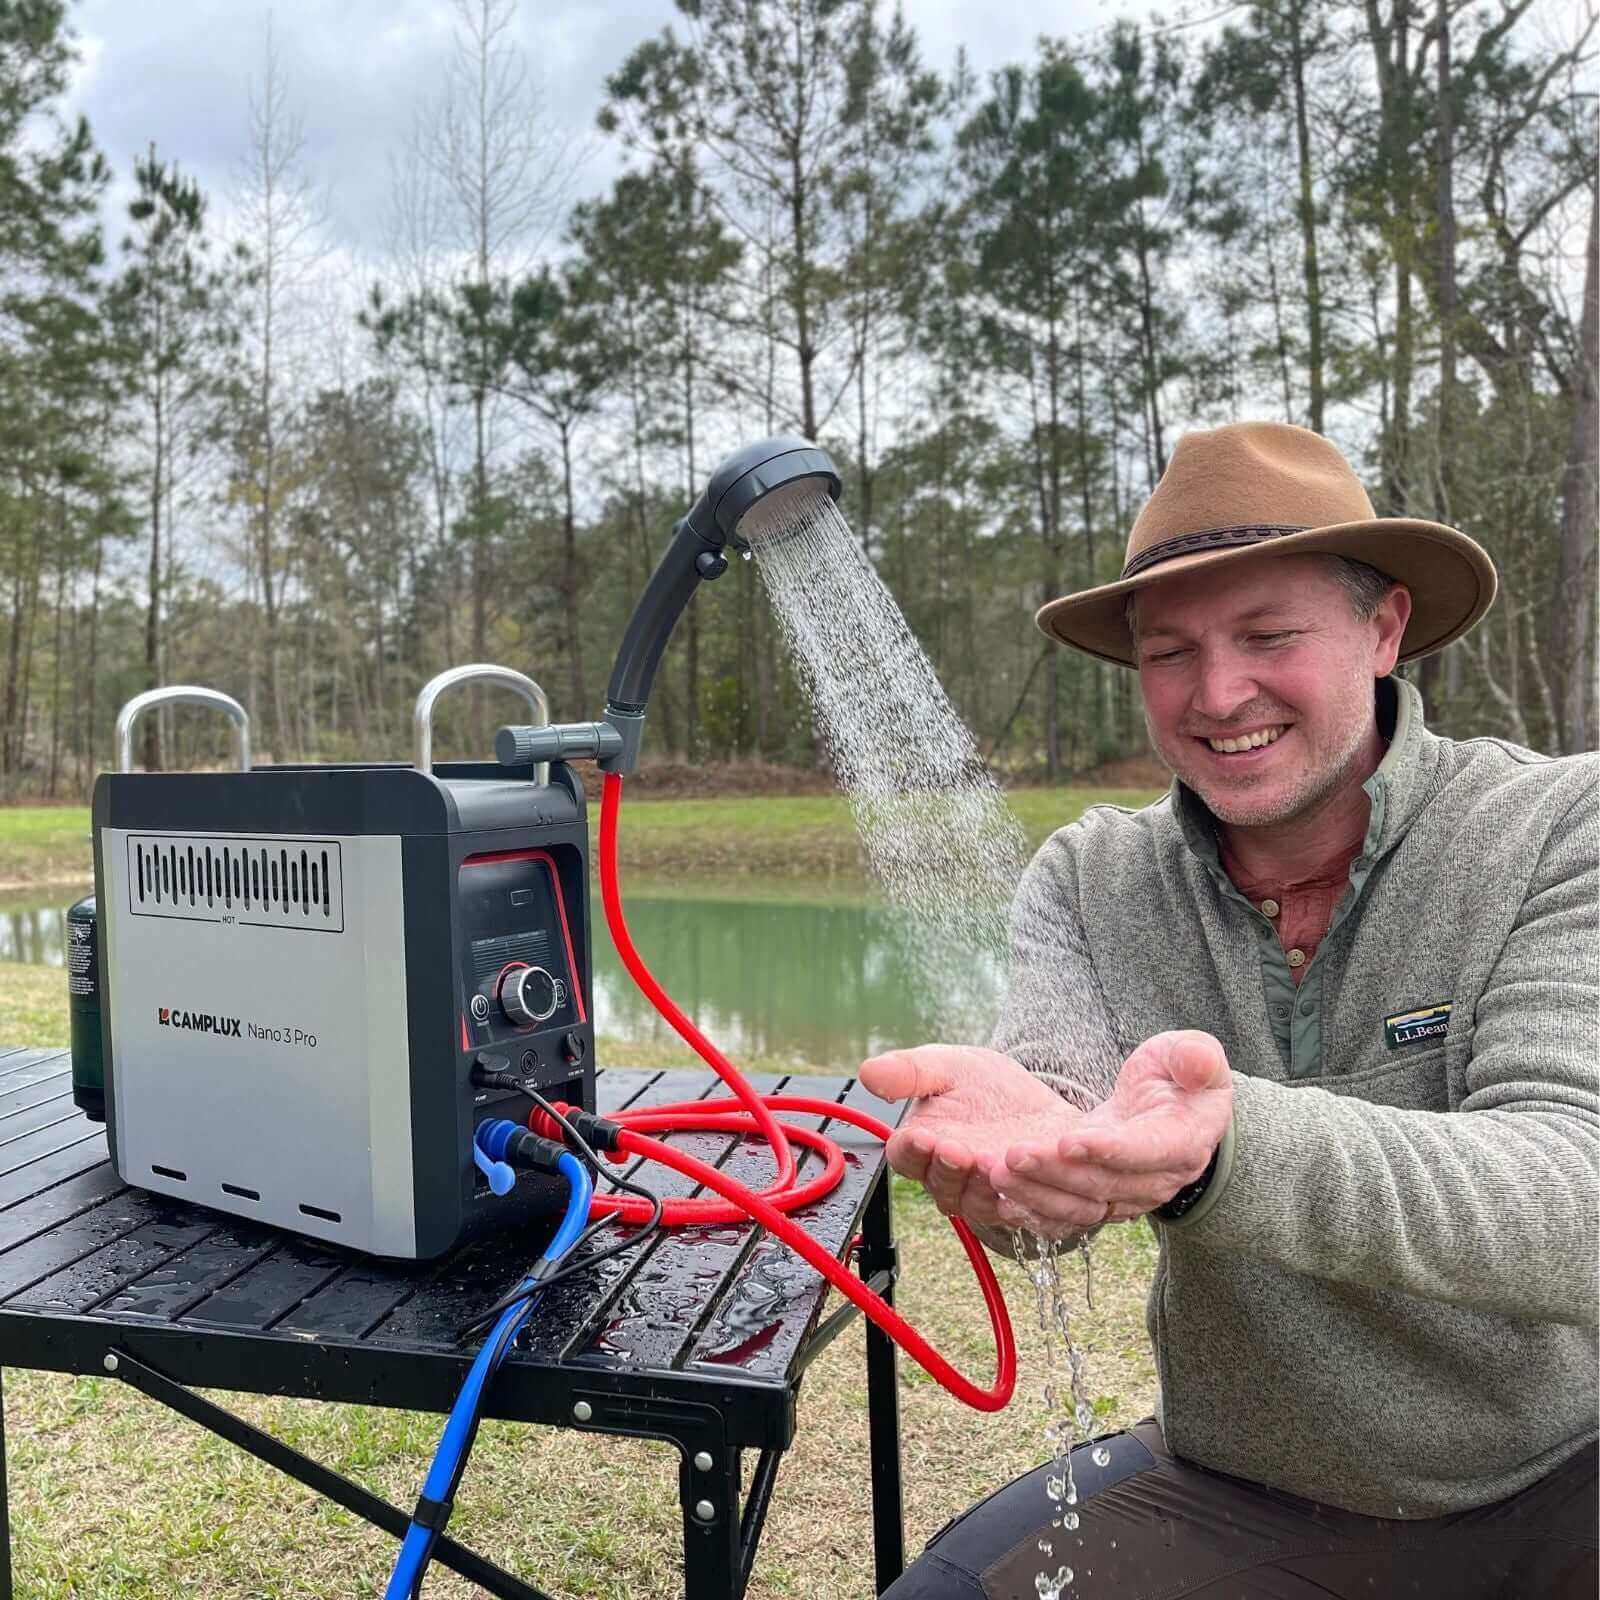
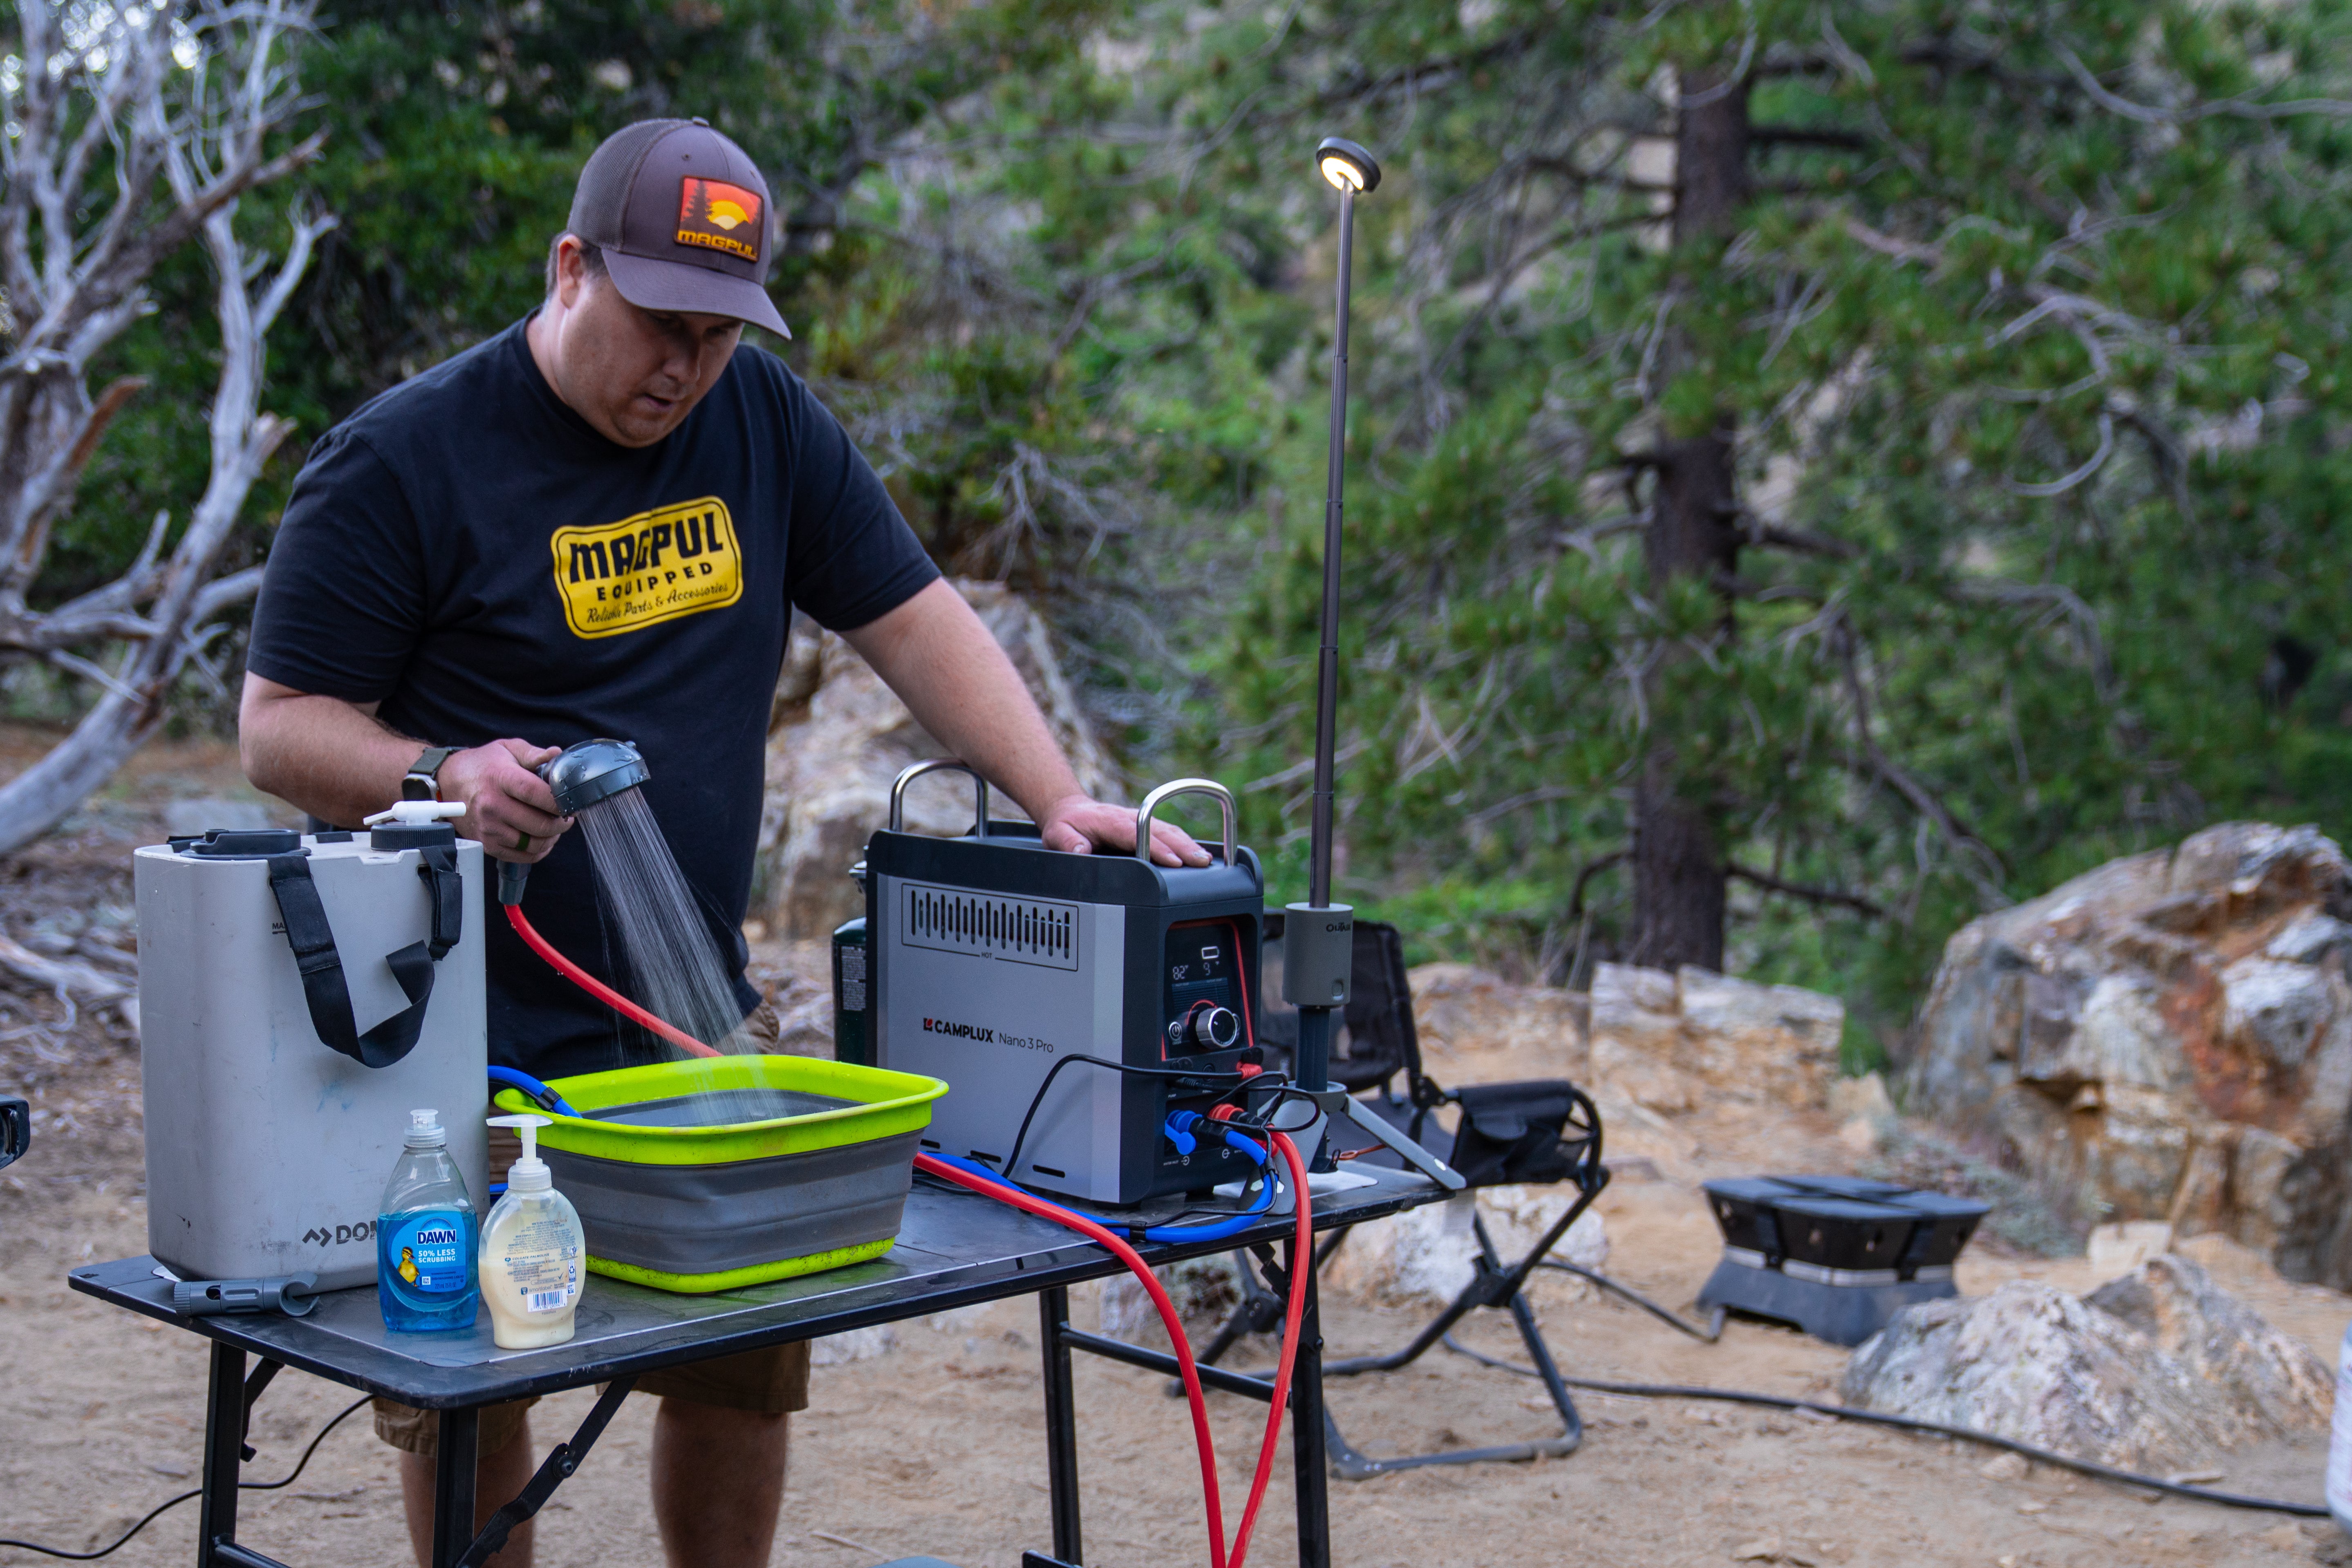
CAMPLUX Nano 3 Pro
CAMPLUX Nano 3 Pro offers advanced heating in a compact design, ensuring fast, reliable hot water wherever your adventures take you.
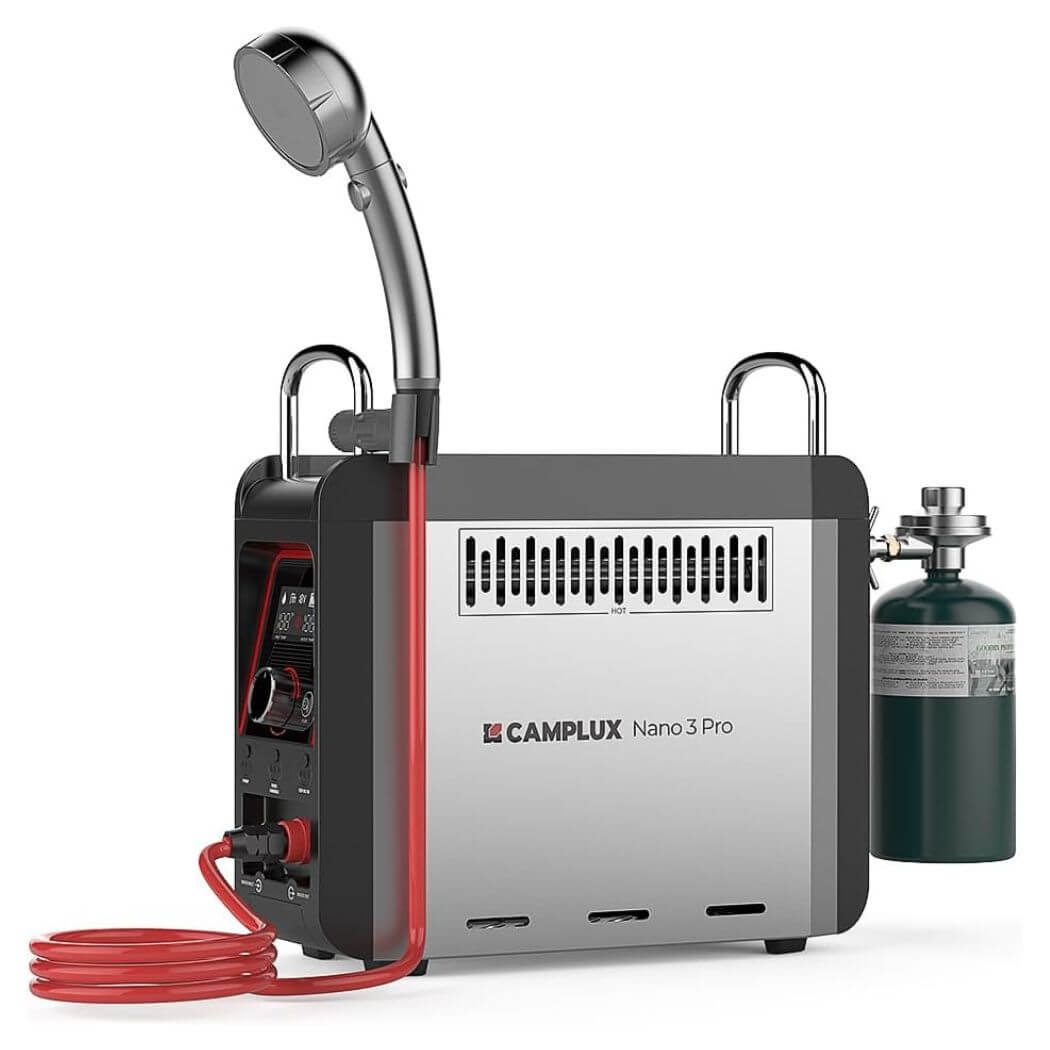
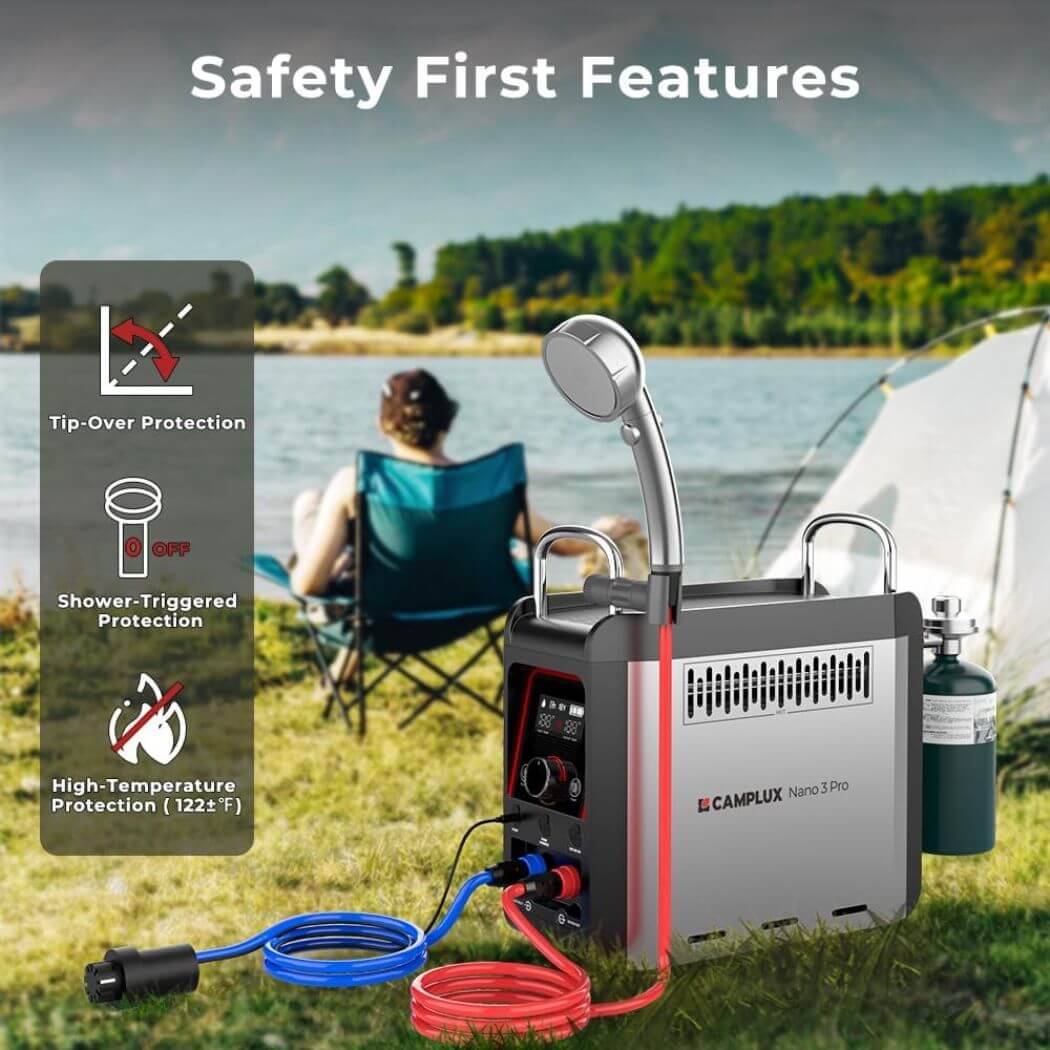
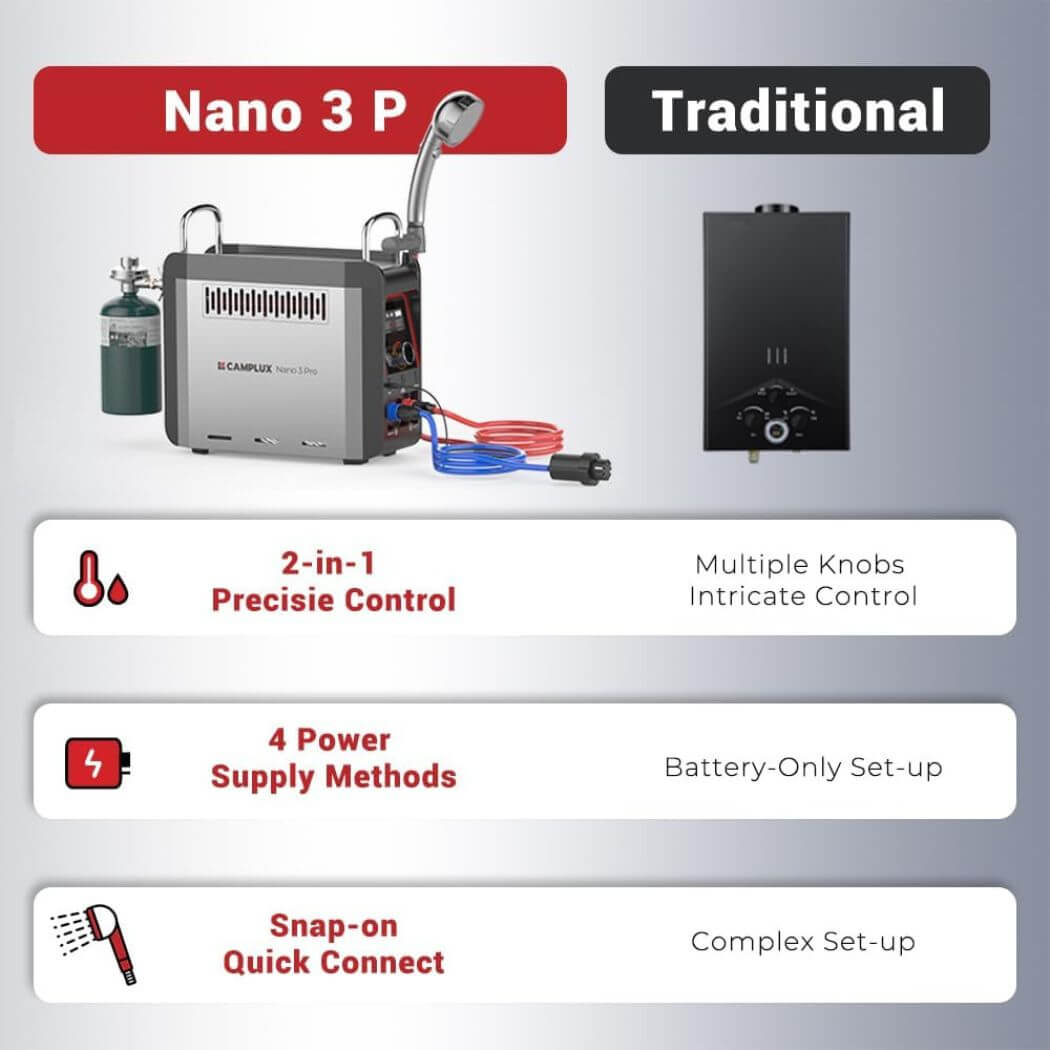
Camplux Nano 3 Pro Portable Propane Water Heater
Most Popular: Responsibly engineered to last a lifetime.
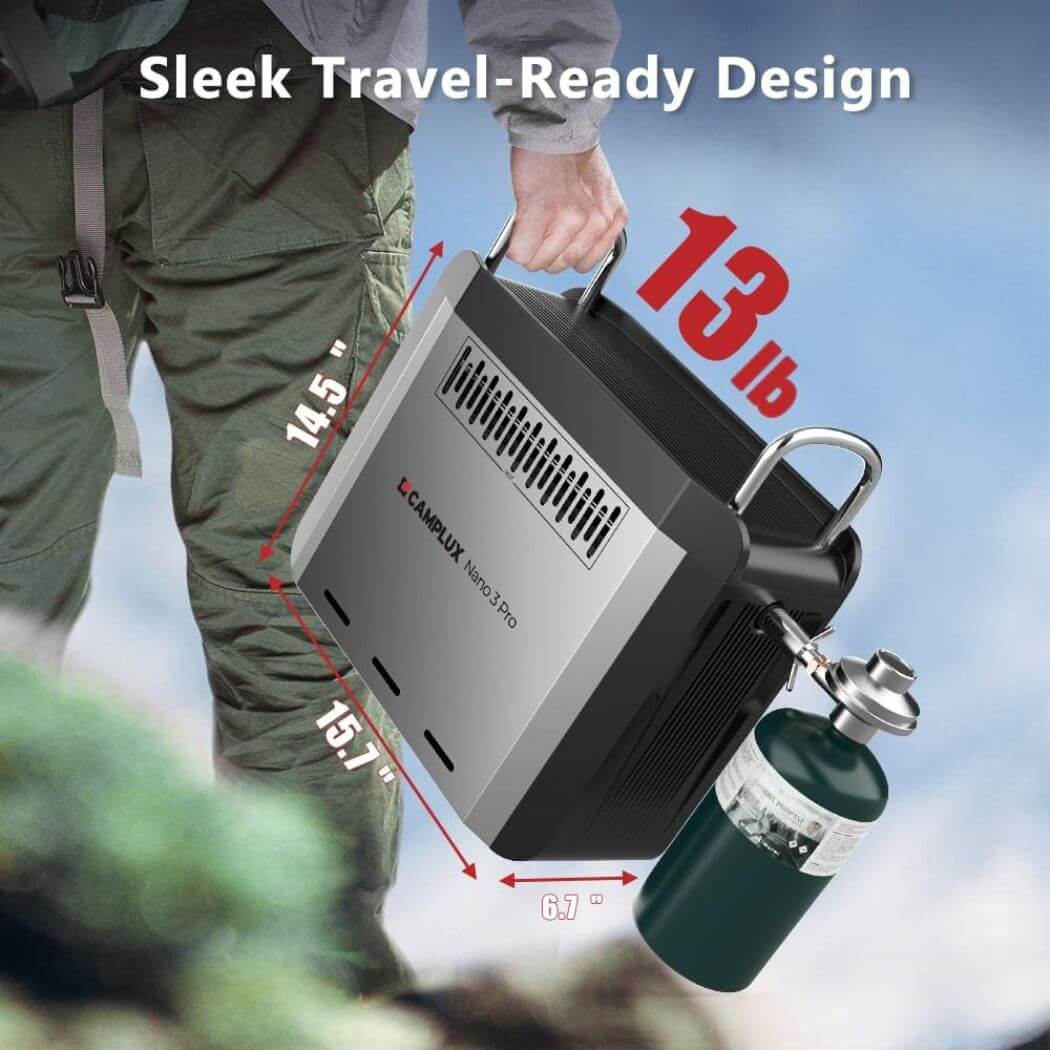
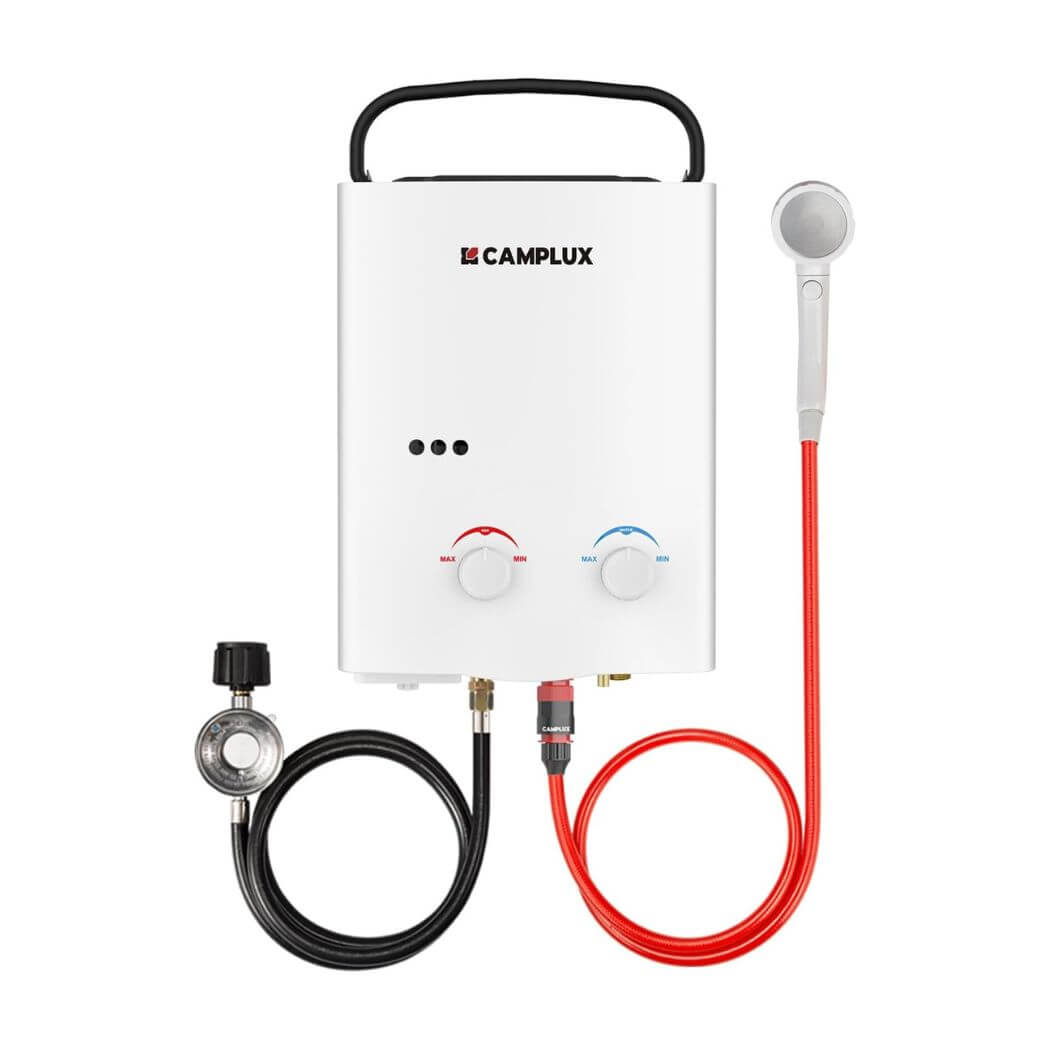
Wherever the journey takes you, take the Camper Kit with you. The world's most compact water heater makes enjoying outdoor showers a breeze with a simple flick of the switch. Its advanced insulation technology guarantees optimal performance even in extreme weather conditions. Experience the perfect blend of innovation and convenience on every adventure.
Best Gas Water Heaters
Outdoor Portable Water Heaters


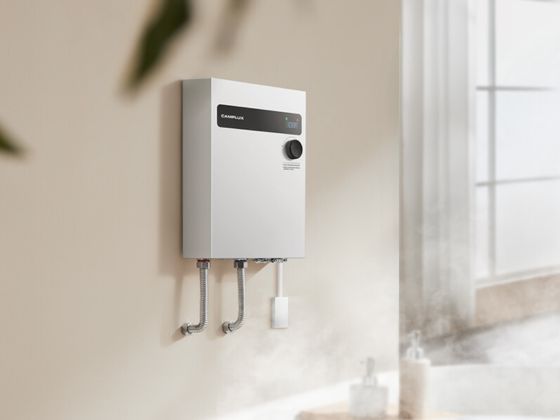
Best Electric Water Heaters
Electric Tankless Water Heaters


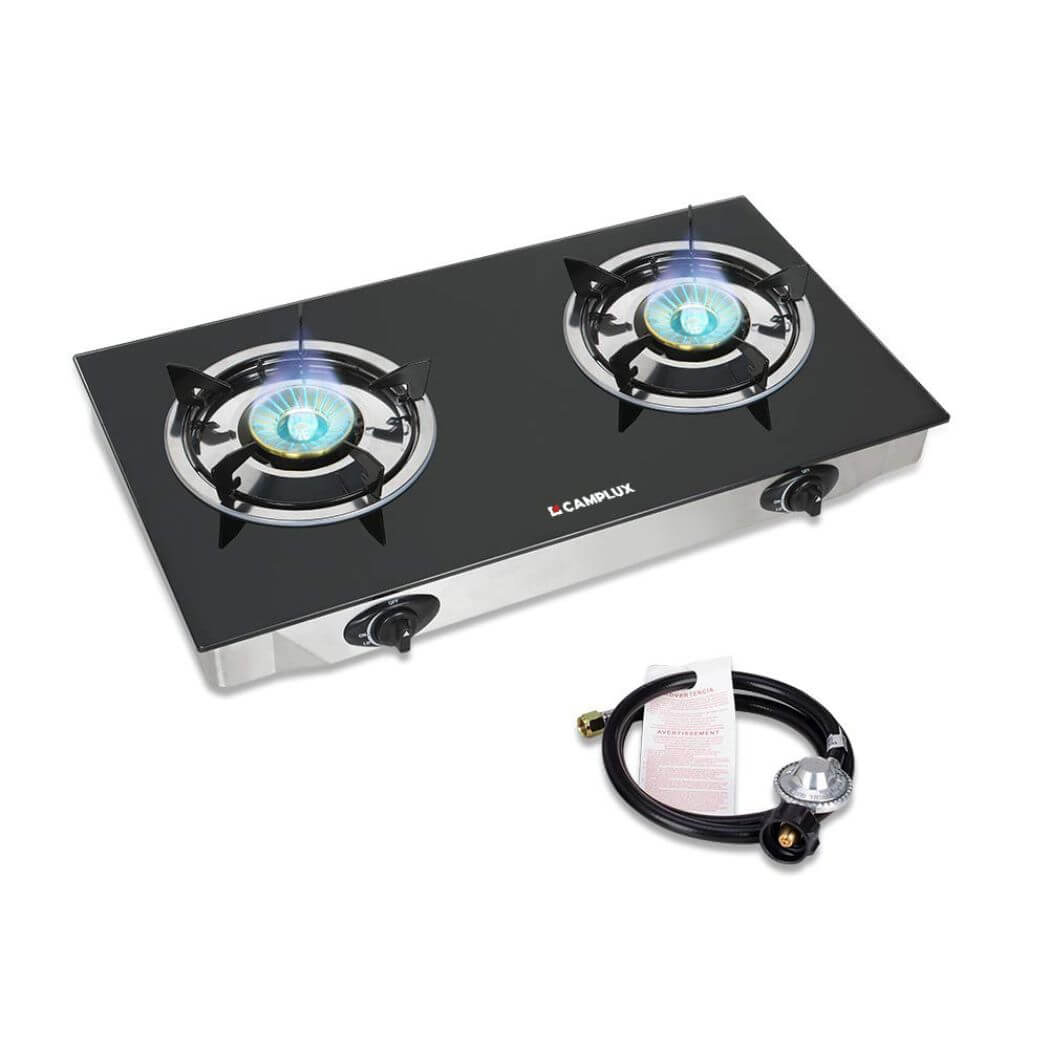
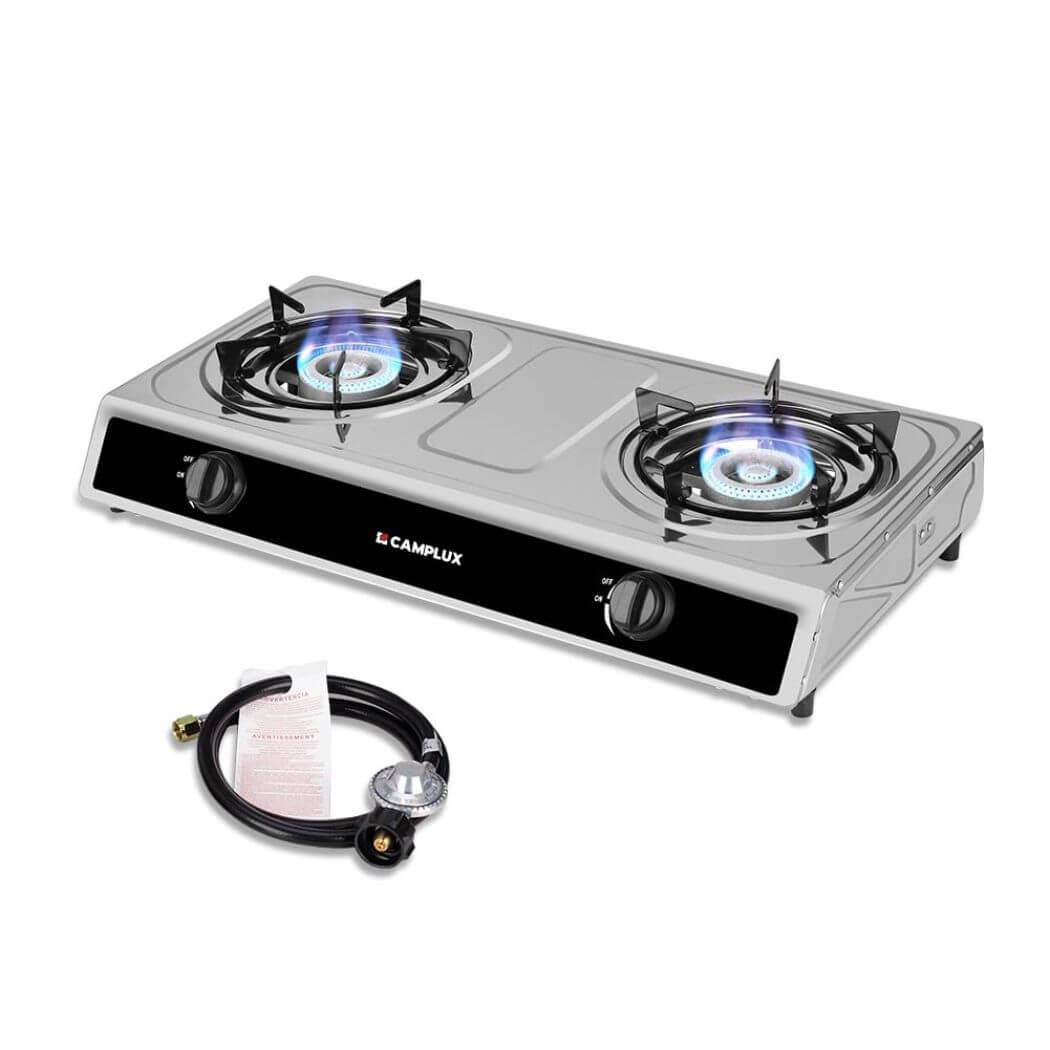
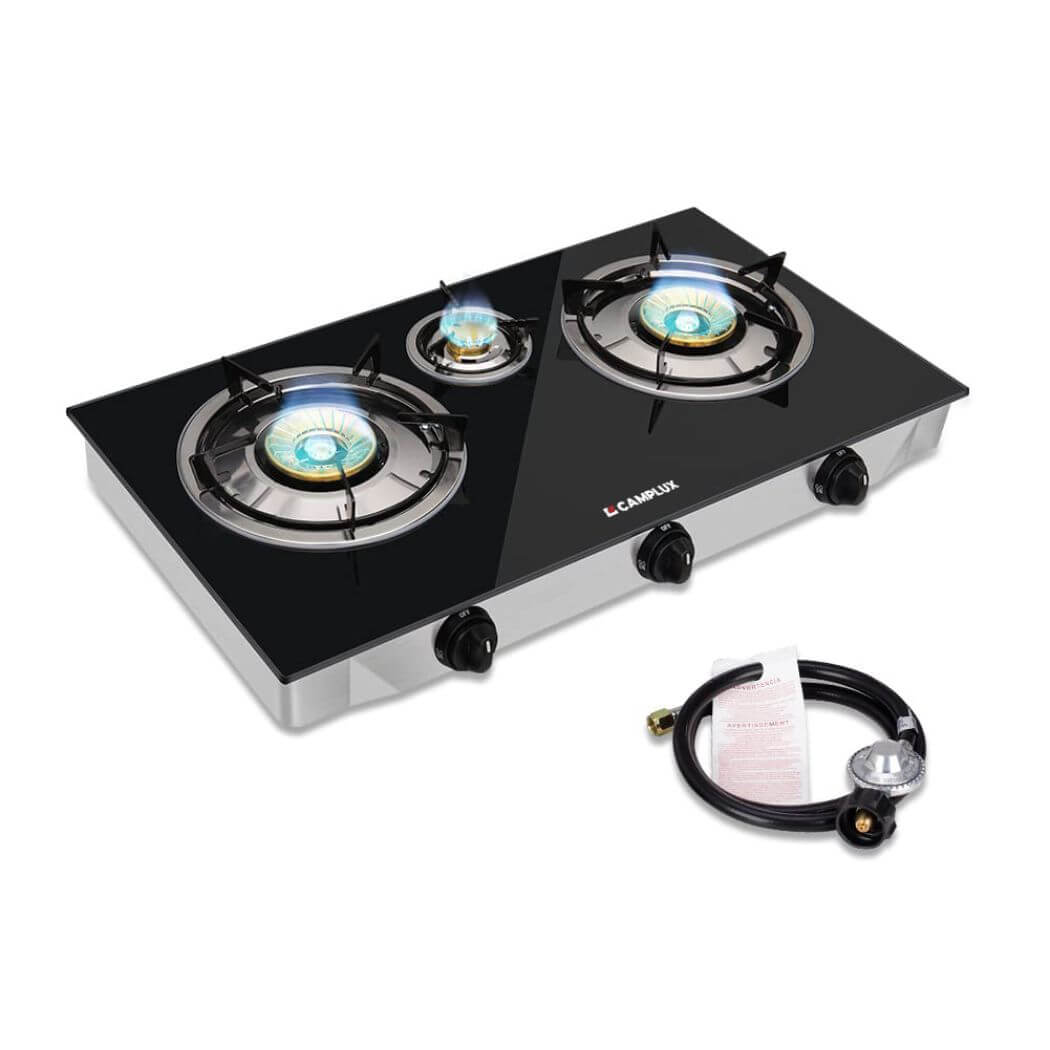
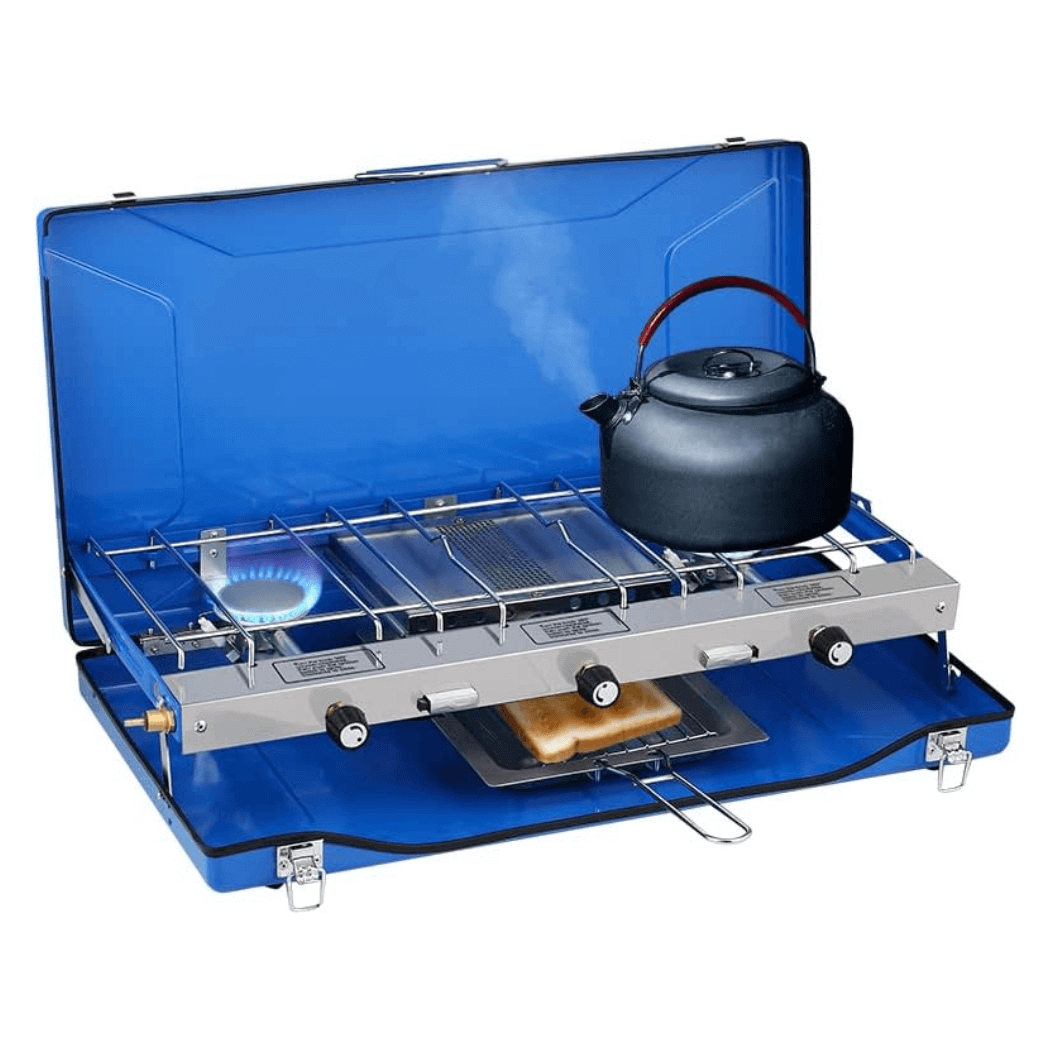
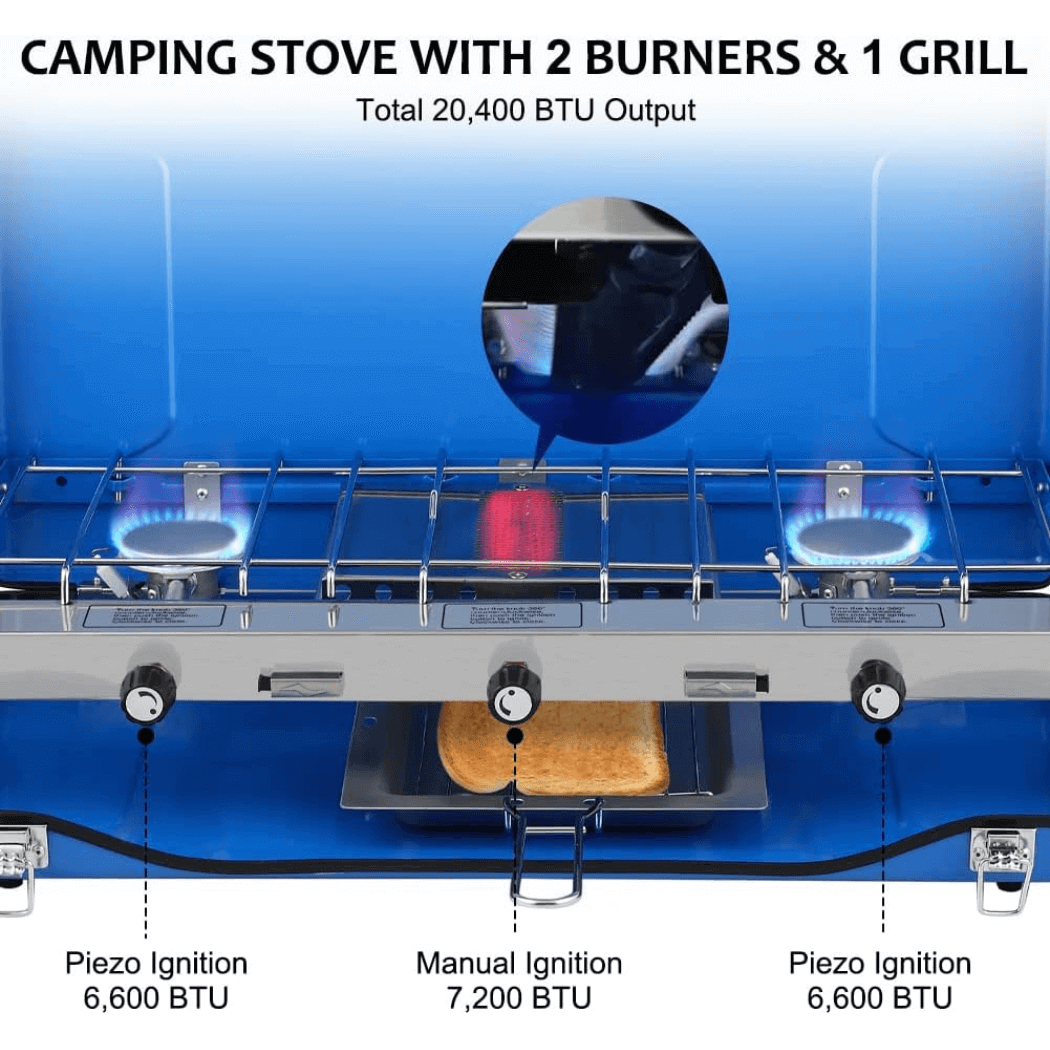
best Camping Cooking
Propane Camping Cooking


Excellent 4.7/5
based on 147 reviews.
Trusted by Customers
Real people, real results. Explore authentic testimonials from those who have benefited from our solutions.


CAMPLUX Gas Water Heaters FAQ
Installation
A: The installation of a CAMPLUX water heater is designed to be straightforward. Follow these steps:
1. Choosing the Location:
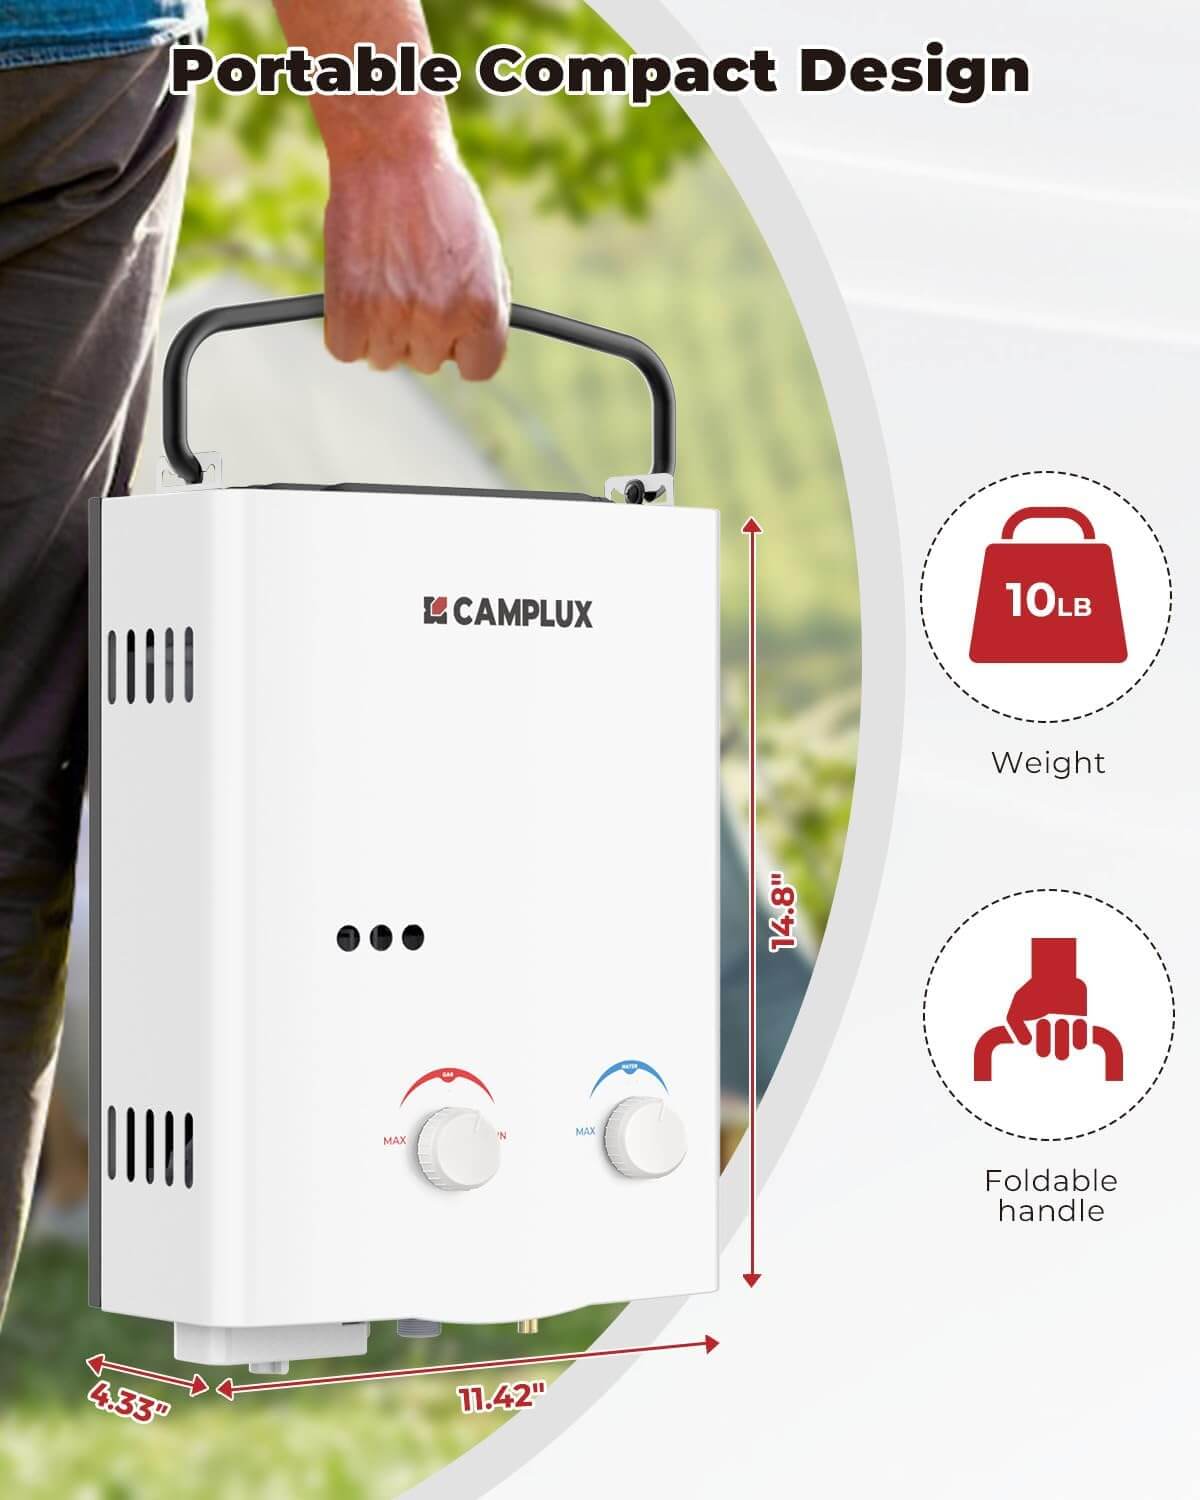
Mount the water heater vertically on a sturdy wall or bracket. Always install it in an upright position—horizontal installation can affect ignition and valve operation. Ensure that the area around the heater is free from flammable materials. Note that the top and exhaust will become hot during operation, so maintain adequate clearance to prevent accidental contact or obstruction.
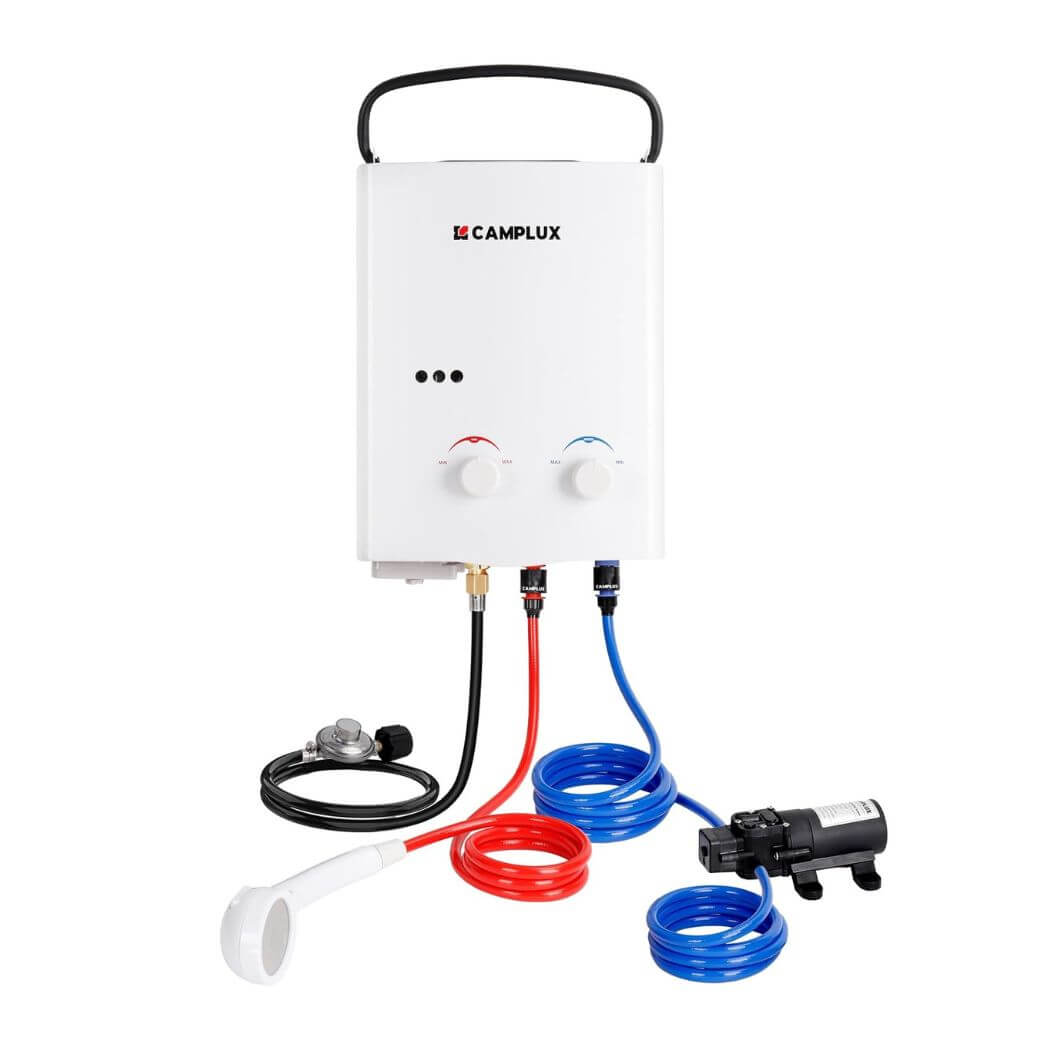
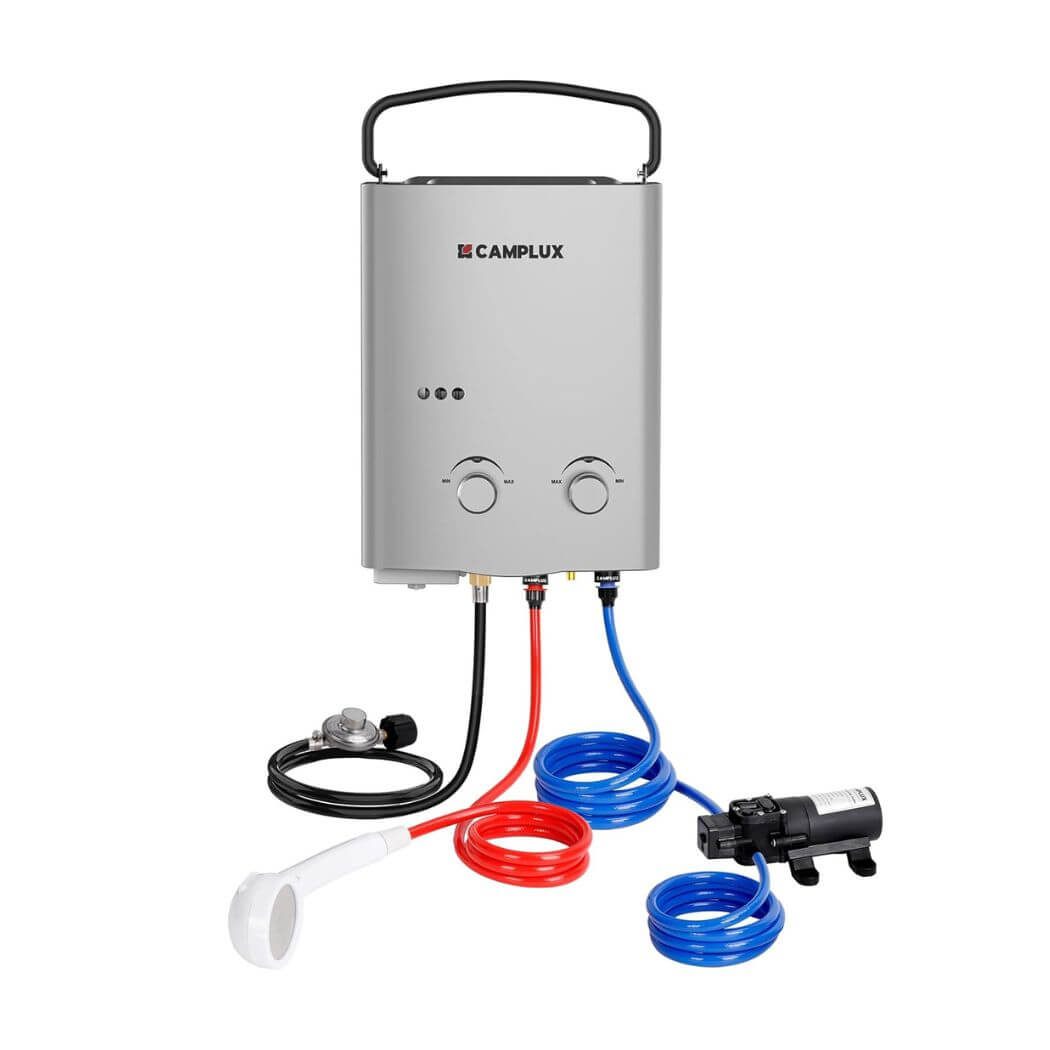
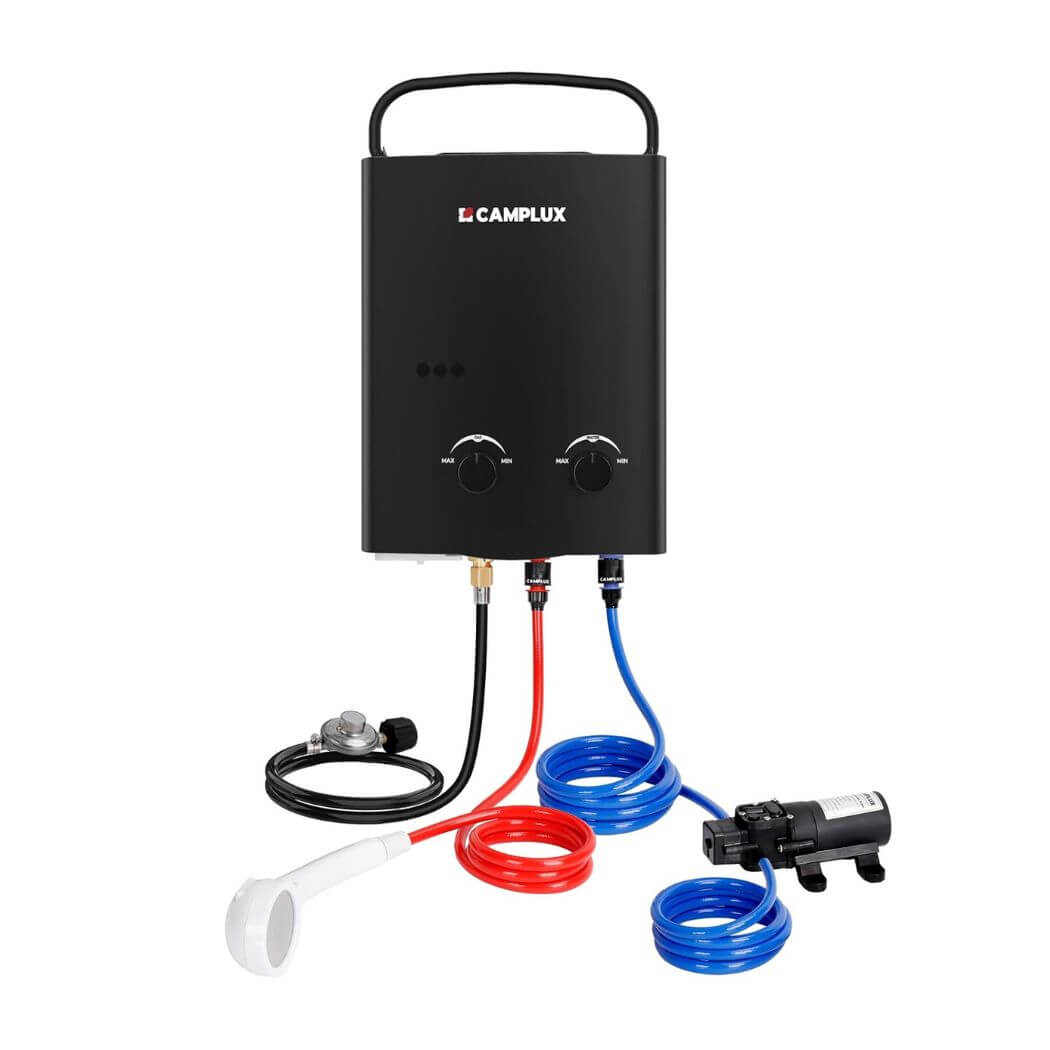
2. Connecting the Water Supply:
Attach the water supply hose to the water inlet (often marked “Water Input”). Many CAMPLUX models include an adapter (for example, a 1/2-inch to 3/4-inch conversion) along with a recommended use of plumber’s tape on the threaded connections to ensure a leak-proof seal. Before tightening, ensure the inlet filter is properly installed and clean. Once verified, secure the hose to the inlet.
3. Connecting the Water Outlet:
Connect the provided shower hose or your own outlet hose to the water outlet (marked “Water Output”). Use plumber’s tape on the threads as needed. Avoid overtightening to prevent damage to the gasket or connection parts.
4. Connecting the Gas Supply and Regulator:
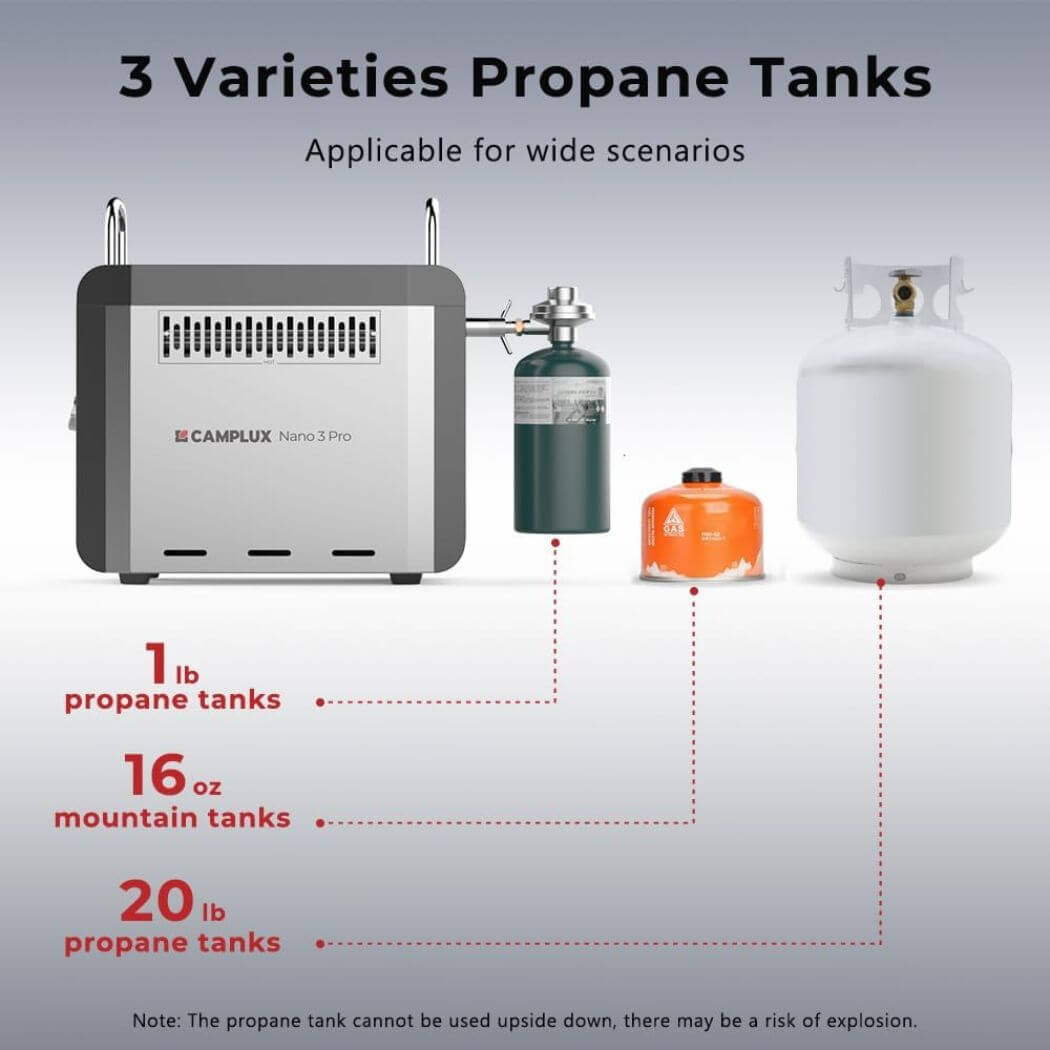
Most portable CAMPLUX heaters use a standard 20-pound LPG (propane) cylinder. Attach the supplied gas regulator and hose assembly to the heater’s gas inlet (labeled “Gas”) and connect the other end to the propane cylinder valve. Use a wrench to secure the connection—tighten firmly but do not overtighten, as excessive force might crack the regulator and cause leaks.
5. Leak Testing:
After all gas connections are made, do not ignite the heater immediately. Instead, apply a soap solution to all gas joints and slowly open the gas valve. Watch for bubbles; if bubbles appear, it indicates a leak. In this case, shut off the gas immediately and retighten or repair the connections until no leaks are found.
6. Battery Installation (for models with battery ignition):
Many portable models use battery ignition (commonly two D-cell batteries). Ensure the batteries are inserted correctly with the proper polarity. Replace them if the power is low.
7. Initial Ignition Test:
Turn on the water supply and allow the pipes to fill (to purge any trapped air). Open the propane cylinder valve fully and follow the manufacturer’s instructions to start the heater (see the “Usage” section below). Once the burner lights and you confirm that all connections are secure and leak-free, the installation is complete.
A: CAMPLUX water heaters are typically designed to use LPG (propane) as the fuel source. Do not substitute natural gas for a propane-specific model or attempt to convert a propane model to use natural gas. Using the wrong fuel type can cause severe damage, risk injury, or even lead to a fire. If you need a natural gas model, purchase one that is specifically designed for that fuel type.
Safety
A: Proper ventilation is crucial when using any gas appliance. Most CAMPLUX portable gas water heaters are designed for outdoor use because combustion produces carbon monoxide and other byproducts. If you must use one indoors, you must install an appropriate exhaust duct to vent the combustion gases outdoors and ensure there is adequate fresh air circulation (for example, by using vents or exhaust fans). Never operate the heater in a completely sealed environment such as a basement, bathroom, garage, tent, or RV without proper ventilation, as carbon monoxide accumulation could be life-threatening.
A: Preventing and managing gas leaks involves the following measures:
- Install a Leak Detector:
Use a gas leak alarm, especially in areas where propane is used. Although propane is odorized, your sense of smell may sometimes be dulled (known as olfactory fatigue), so a detector provides extra security. - Regular Soap Solution Checks:
Always use a soap solution on gas connections after installation or during routine inspections. If continuous bubbles appear when the gas valve is slowly opened, it indicates a leak. In such cases, shut off the gas immediately and tighten or replace the connections—never test for leaks using an open flame. - Use Approved Components:
Always use high-quality, manufacturer-approved hoses, regulators, and fittings. Check for signs of wear, cracks, or aging before each use, and replace any parts that show damage. Avoid using unapproved or substitute components that might compromise the connection. - Emergency Procedures:
If you smell gas or suspect a leak, immediately close the gas cylinder valve and extinguish any flames. Do not operate electrical switches (to avoid sparks). Open windows and doors to ventilate the area, evacuate to a safe outdoor location, and then contact your local gas supplier or fire department. Do not attempt repairs yourself until a professional has verified that the system is safe. - Fire Prevention:
Keep an appropriate fire extinguisher (such as an ABC dry chemical extinguisher) nearby. Maintaining proper ventilation and strictly following installation and maintenance instructions will greatly reduce the risk of fire or explosion.
Usage
A: Follow these steps for safe startup:
1. Turn on the Water Supply:
Ensure that the water valve is open. The water pressure should be within the recommended range (typically 2.8–110 PSI) so that the heater’s sensor can trigger ignition.
2. Check the Outlet Valves:
Make sure that any faucets or showerheads connected to the heater are initially closed. This allows the heater to build up sufficient water pressure for ignition.
3. Open the Gas Valve:
Fully open the valve on the gas cylinder. If you detect any gas odor during this process, shut off the valve immediately and check for leaks. Only proceed once you’re sure there is no leakage.
4. Set the Water Flow and Gas Knobs:
Turn the water knob to maximum flow and set the gas knob to its lowest setting. This ensures a stable ignition with a controlled flame.
5. Open the Outlet:
Turn on the connected faucet or shower; water should start flowing. The heater’s sensor will detect the water flow and trigger the ignition sequence (you may hear a series of “clicks” as the igniter works). If the unit fails to ignite within 5 seconds, close the faucet and check troubleshooting steps.
6. Adjust the Temperature:
Once ignition is confirmed and hot water is flowing, adjust the water flow and gas knobs gradually to reach your desired temperature.
7. Shutdown and Draining:
When finished, first close the water outlet to stop the flow, then shut off the gas cylinder valve. Finally, open the drain valve (located at the bottom or side) to remove any residual water, which is especially important in cold environments to prevent freezing damage.
A: CAMPLUX water heaters adjust temperature through a combination of water flow and gas input rather than a direct temperature dial:
- Lower Temperature:
Increase the water flow (open the water knob further) while decreasing the gas supply. This combination results in lower output water temperature. - Higher Temperature:
Gradually increase the gas supply (raise the gas knob) to boost the flame’s intensity. Because there is a slight delay in temperature change, adjust slowly. Avoid setting the gas knob to full immediately to prevent overshooting the desired temperature. - Balancing Flow:
If the heater is still not heating to your desired level, try reducing the water flow slightly. However, do not modify or disable the built-in temperature sensor, which is critical for preventing overheating. - Safety Reminder:
CAMPLUX heaters can heat water to around 75–80°C. This is hot enough to cause burns. It is recommended to adjust settings carefully and generally keep water temperatures at or below 50°C for safety.
A: A minimum water pressure of around 2.5–2.8 PSI (approximately 0.17–0.2 bar) is needed for the water heater to ignite. If the pressure is too low, the sensor may not detect sufficient water flow, and the unit will not ignite. For systems using municipal water, this is typically not an issue. However, if you’re using a gravity-fed system or another low-pressure source, you may need to install a booster pump. On the other hand, water pressure should not exceed 80 PSI (about 5.5 bar) in most cases. Some models can handle up to 110 PSI briefly, but prolonged exposure to high pressure may trigger the safety pressure relief valve. Always ensure your water supply pressure falls within the manufacturer’s recommended range.
Maintenance
A: Regular maintenance is key to prolonging the life of your water heater and ensuring safe operation. Here are the recommended maintenance steps:
- Cleaning the Water Circuit:
Periodically flush the water heater to remove sediment and debris that may accumulate in the heat exchanger and piping. Detach the inlet/outlet hoses and run clean water through both directions to clear any blockages. - Inspecting and Cleaning the Inlet Filter:
The water inlet usually has a filter to capture particles. Check and clean (or replace) the filter monthly to prevent blockages that could lower water pressure and affect ignition. - Descaling:
In areas with hard water, mineral buildup (scale) can occur inside the heat exchanger. It is advisable to descale the unit annually. This can be done by circulating a descaling solution (or diluted vinegar solution) through the system for about an hour, then flushing thoroughly with clean water. - Checking the Gas System:
Regularly inspect all gas connections for signs of wear or leakage. Use a soap solution on each connection after installation or during routine checks. If bubbles appear, the connection is leaking and must be tightened or have its seal replaced. A gas leak detector may also be used for added safety. - Battery Check (for battery-powered ignition models):
Replace the ignition batteries periodically, especially if you notice intermittent or failed ignitions. - Ventilation and Flue Maintenance:
For models with an exhaust system, ensure that the exhaust pipe remains clear of debris or carbon buildup. For non-ducted outdoor units, inspect the combustion area for obstructions such as spider webs or dust, and clean as needed to maintain proper airflow. - Drainage and Freeze Protection:
After each use, especially in cold weather, drain the water heater completely. This prevents any remaining water from freezing and damaging internal components. If the heater will be unused for an extended period, store it in a dry, warm area. - Storage Practices:
When not in use for long periods, ensure that the unit is drained and dried. Store it in a clean, dry place away from heavy objects or pests that could damage wiring or hoses.
Troubleshooting
A: If the unit isn’t heating or the ignition fails, consider the following troubleshooting steps:
- Water Connections:
Confirm that the inlet and outlet hoses are connected to the correct ports. Reversed connections may prevent proper operation. - Water Pressure and Flow:
Check that the water pressure meets the minimum requirement (around 2.5 PSI). Low pressure may be due to a clogged inlet filter or restricted showerhead. Clean the filter and, if necessary, remove the showerhead to allow direct water flow to determine if blockage is the issue. - Battery and Ignition:
If you have a battery-powered model and hear no ignition clicks or intermittent sparking, the batteries may be low or improperly installed. Replace the batteries and ensure correct polarity. - Gas Supply:
Verify that the gas cylinder has sufficient fuel, that the gas valve is fully open, and that the regulator is functioning correctly. If the regulator or hose is damaged or blocked, there will be no gas flow. Also, note that newly connected gas cylinders may have a higher internal pressure, which could temporarily affect the operation—try opening the water first before gas. - Fuel Type Verification:
Ensure that you are using the proper type of gas (propane vs. natural gas) as specified for your model. Using the wrong gas can lead to ignition failure or hazardous flames. - Other Factors:
If you hear the ignition sequence (clicking sounds) but the unit still does not ignite, check if there is any carbon buildup or debris in the burner area. Clean the burner and nozzle if needed. Also, verify that the temperature settings are not set beyond the normal operational range. If all else fails, the issue may be internal (such as a faulty sensor or solenoid valve), and you should contact CAMPLUX customer support or a professional technician for further diagnosis.
A: If the water pressure is insufficient to trigger ignition (minimum required is around 2.5 PSI):
- Booster Pump:
Consider installing a small 12V booster pump to increase water pressure from a bucket or tank. - Elevate the Water Source:
Raising the water container several meters above the heater can help generate additional pressure via gravity, though this method might have limited effect if the height is not sufficient. - Check for Blockages:
Ensure that the inlet filter and any attachments (like showerheads) are free from clogs to avoid unnecessary pressure loss. - Select a Suitable Model:
For camping or low-pressure scenarios, consider using a CAMPLUX model that is specifically designed with an integrated water pump or optimized for low-pressure conditions.